We love our big rig because it gives us a lot of living space and has many of the creature comforts of home. However, there are some challenges that go along with owning a 45-foot motorhome. Maneuvering such a large vehicle takes some practice and getting fuel is one area where space can be a challenge. We have found that using a truck stop makes getting our diesel fuel a much easier task.
Convenience
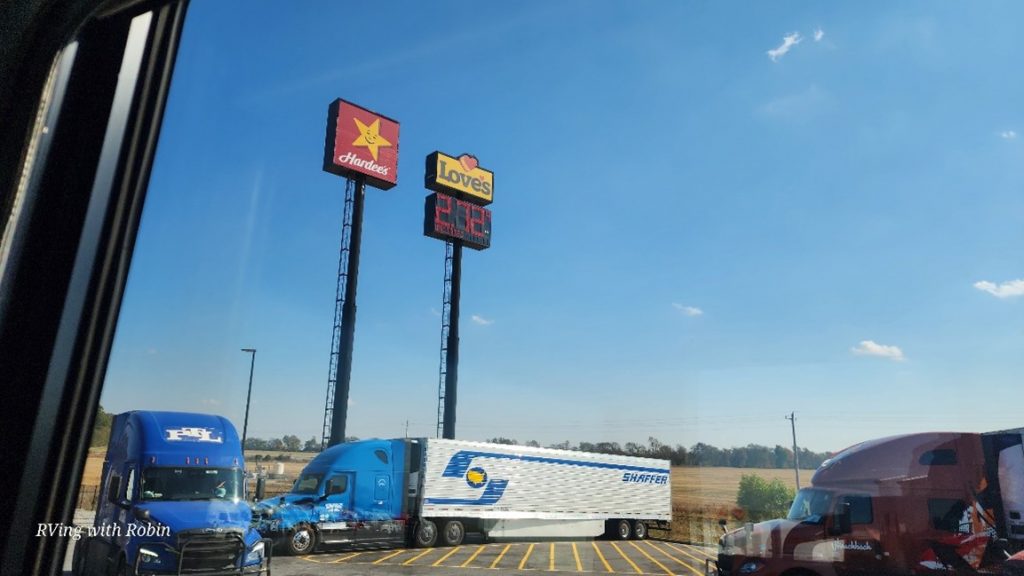
Truck stops are conveniently located along all major highways in the US. Being able to exit right to a truck stop allows for a quicker stop and means you don’t have to get into busy city traffic or worry about low bridges or tight streets. We like to plan for our next fill up when we get down to half a tank of fuel, just to be safe. Using truck stop apps like TA, Love’s or Pilot will not only help you locate stations along your route but can also let you compare prices.
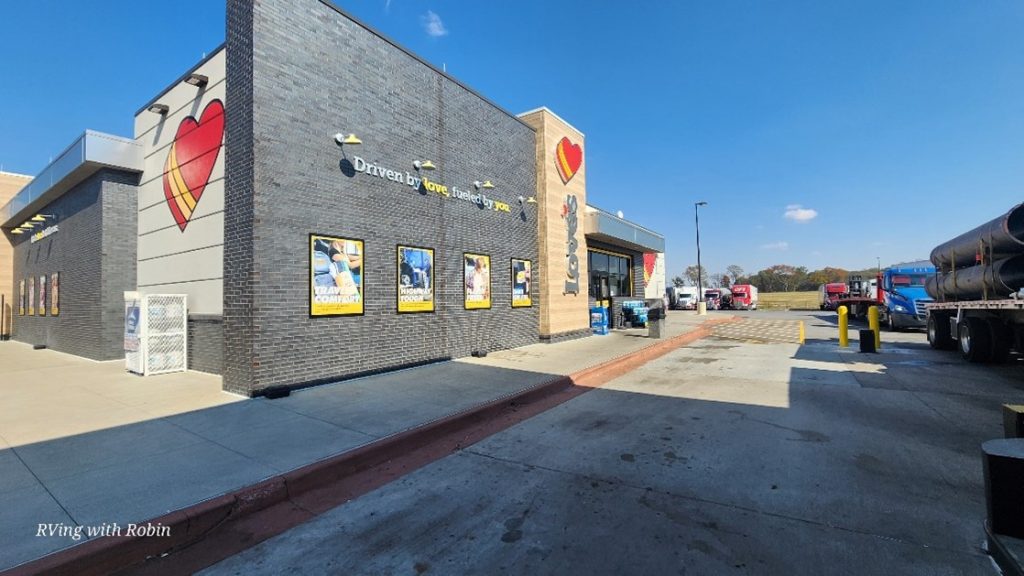
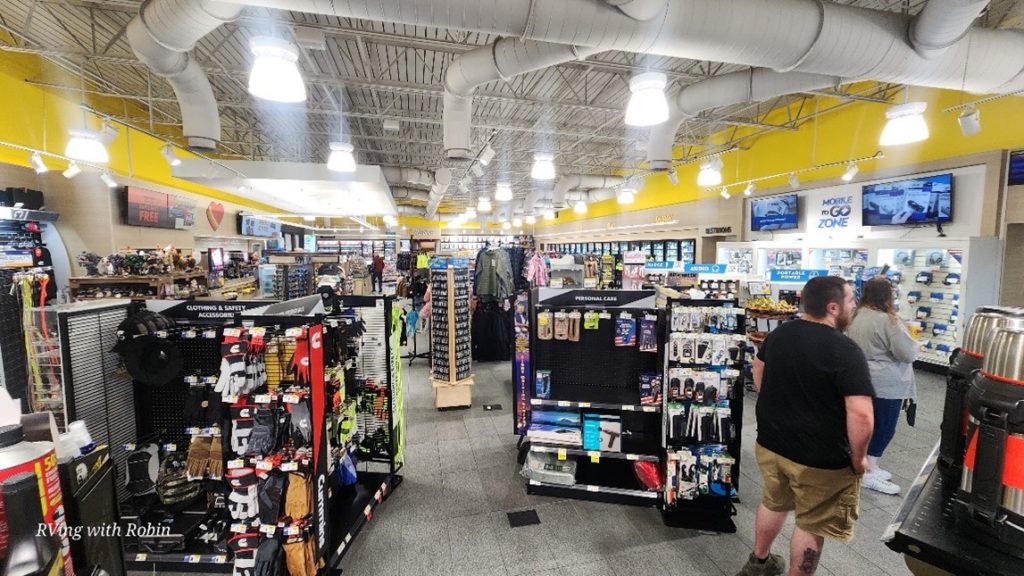
You might have noticed that many big stations are now called travel plazas or travel centers. That’s because they have a lot more conveniences all in one place. Many offer restaurants, convenience stores, truck scales, dump stations, propane refill, dog parks, truck washes, and repair service centers. In addition to truck parking, Love’s Travel Centers now offer reservable Love’s RV Stop camp spots in over 78 locations. With everything right there in one place, you can’t beat a truck stop for convenience.
More Space
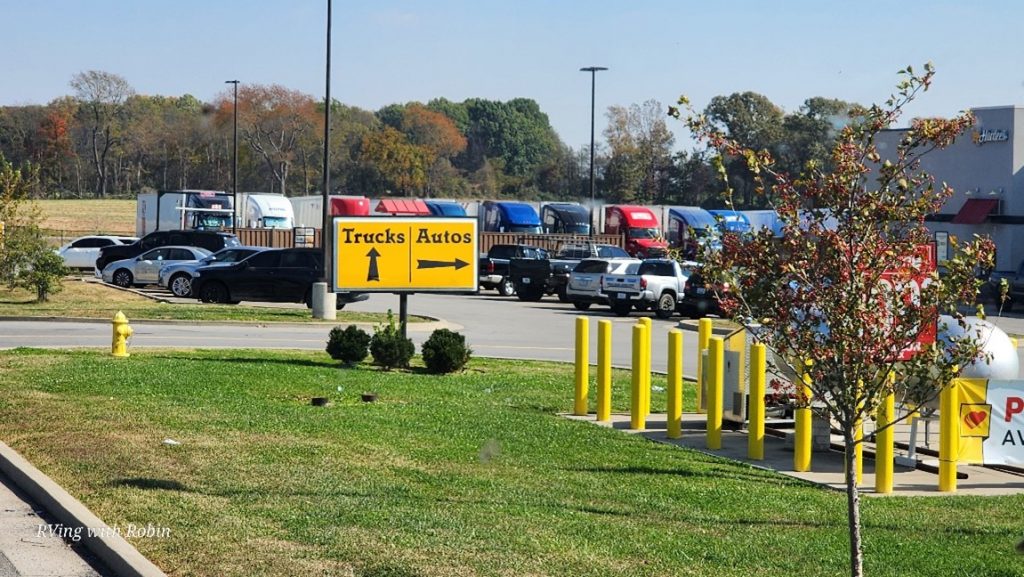
We learned early on in our RV ownership that big rigs need lots of room to maneuver. While it might look like a regular gas station has enough space, it only takes one tight turn and crunching a side cargo door to let you know you were wrong! Even so-called RV lanes can be too tight for a big rig. It is easier to get into and out of truck stops because they are designed for the big size of 18-wheeler semi-trucks.
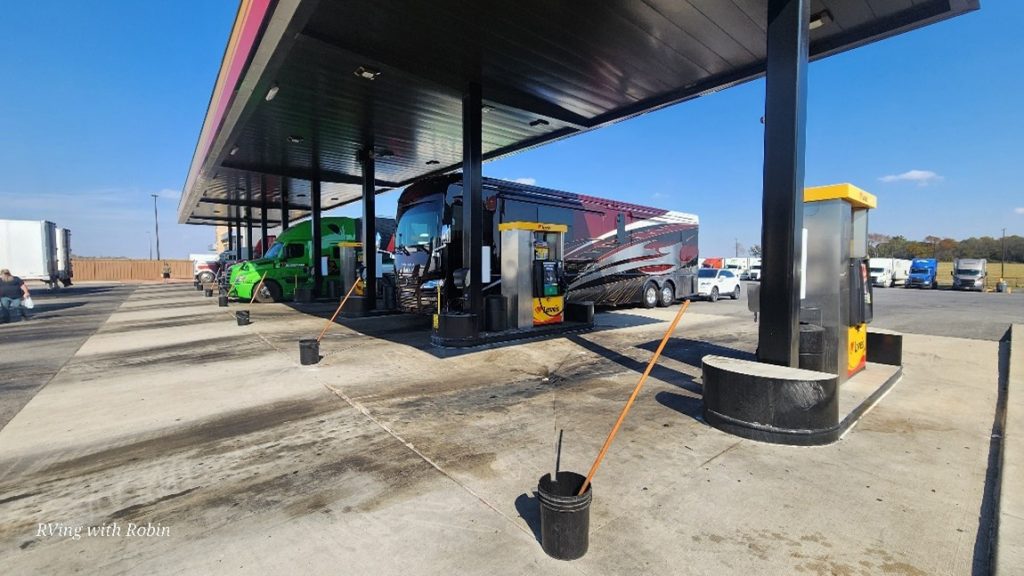
Another benefit is that truck stops have one way entrances and exits. We just look for the big signs directing the trucks or, even easier, follow the trucks heading in. Once you go in the truck entrance there is room for sweeping turns as you head into the long straight fuel lanes. You also have high overhead clearances under the canopy unlike many regular gas stations.
Quality Diesel Fuel and DEF
An advantage of large volume truck stops is that they move a LOT of fuel. Thousands of trucks using the stations each week means your fuel here will be fresher than at a station with a lower volume of business. Most truck lane pumps also offer DEF and the same goes here for freshness.
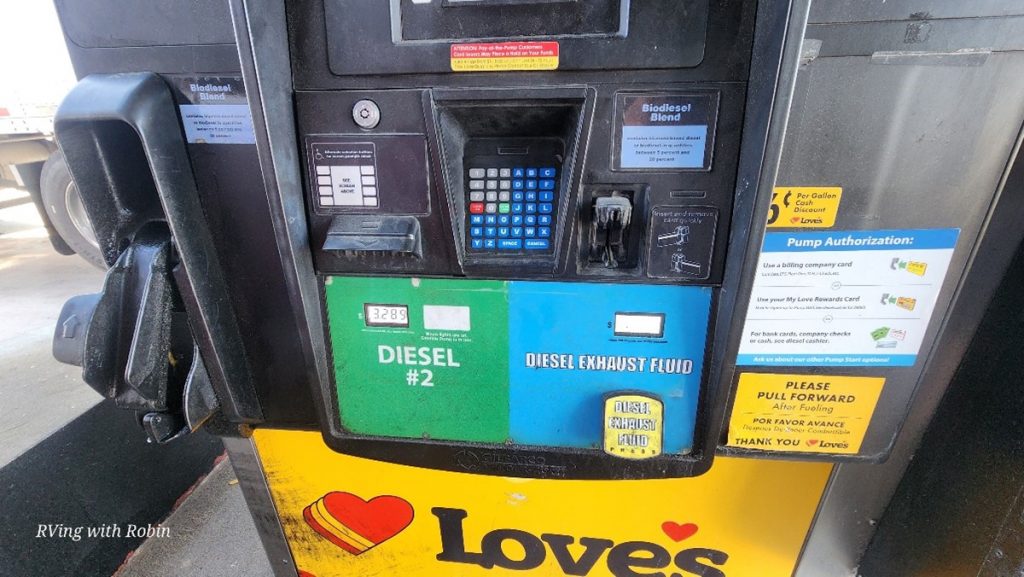
Additionally, truck stop diesel pumps have a larger diameter hose and nozzle than standard car fuel pumps. This gives the fuel a faster flow rate and lets you fill your large RV tank in a much shorter time. There is also no transaction limit as there often can be at regular gas stations. With tanks that can hold 100 to 200 gallons of diesel, RVers will have no trouble filling their tanks here.
Discount Fuel Prices
Many of the truck stop chains offer loyalty cards that will give you a set discount per gallon of fuel at their stations. They also have apps that list their locations and prices. If you don’t want to be tied to one brand, you can use apps like Open Roads, Trucker Path, or Mud Flap that will let you see and compare fuel prices at all their participating truck stop brands at a glance.
We have tried several of those methods over the past few years and found that using the Open Roads app in conjunction with our Open Roads EFS card gives us the best price. This card, similar to a trucker’s fuel card, allows RVers to pay at the pump like commercial truckers do. The program requires that the card be linked to a bank account as a fuel debit card but has been worth it for us to save up to 80 cents per gallon!
Easy to Learn
Using a truck stop fuel station for the first time can be intimidating. Most truckers don’t have a problem with RVers who use truck stops for fueling, but it’s nice to continue that goodwill by following the proper etiquette. We try to refuel during the slower periods (mid-morning/early afternoon). Once there, here are some tips to help you fit in:
Before you arrive, it is helpful to review the overhead satellite image of the truck stop to get familiar with the flow into/out of the station. When you are entering the truck stop, follow the signs for trucks and get into an open lane. Make sure you don’t overshoot the pump because you can’t back up if you are towing a vehicle. Most people prefer to wear gloves, so they don’t get smelly diesel fuel on their hands.
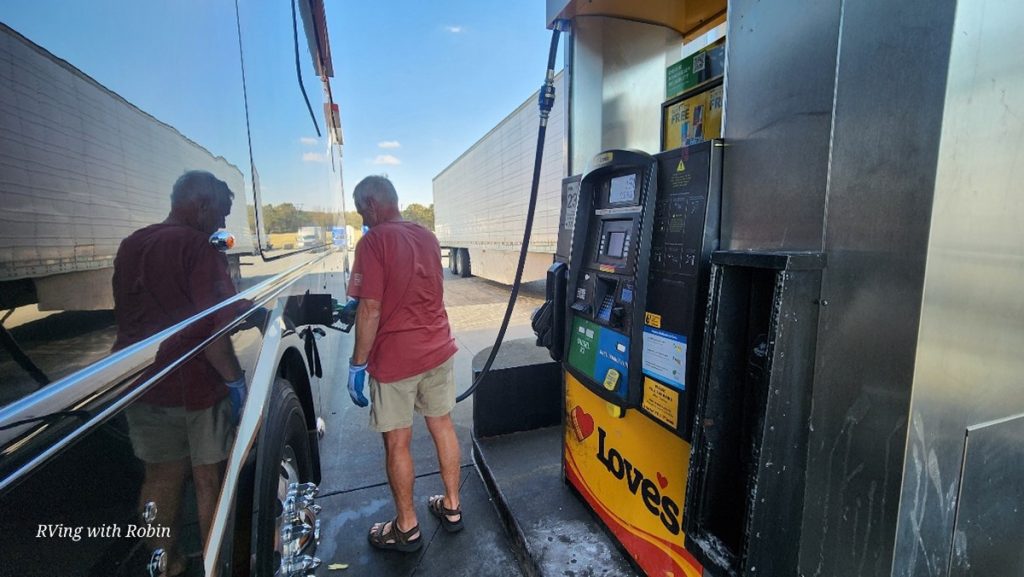
Make sure you select the correct fuel before you begin pumping. There are usually diesel and DEF pumps available, and you don’t want to put either into the wrong tank! There is no regular gasoline in the truck lanes.
You should always stay with your rig while fueling, but you can take the opportunity to use the long-handled window washer poles to clean your windshield while you wait.
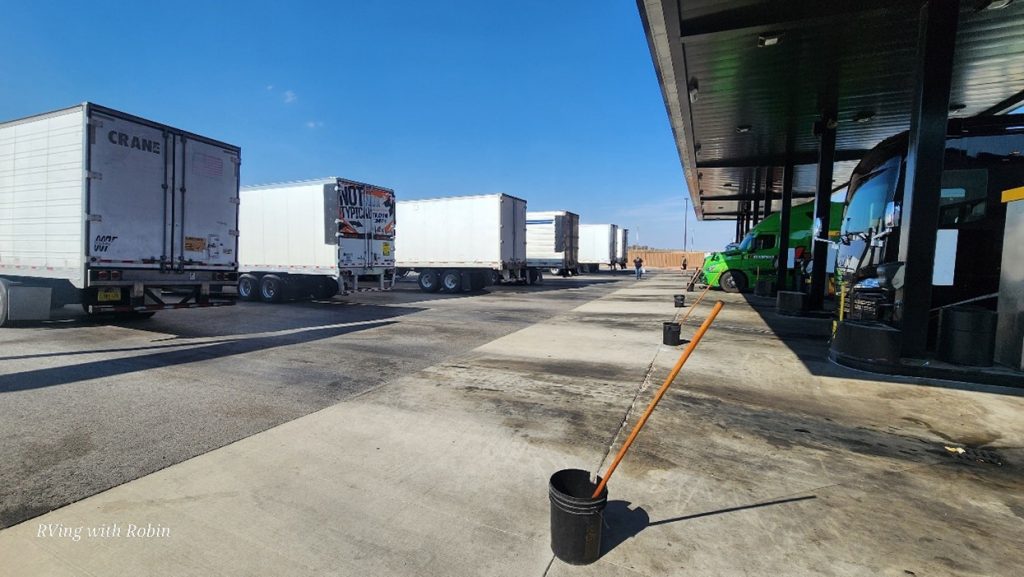
One of the most important rules is to pull your RV forward to the exit line as soon as you fill up so the next truck can begin pumping. Do this before you go in to pay or buy anything at the store! If you are going to be doing any extended activity like having lunch, you should pull into a parking spot and not sit in the gas lanes. Truckers have a schedule to keep and need to get in and out quickly so they can get back on the road.
Try a Truck Stop
Getting familiar with truck stops makes life with a big rig so much easier. You can readily find them along your travel route. They are easily accessible, offer plenty of room to get around, and have many conveniences all in one spot. The stations offer high quality fuel and DEF plus their discount programs can even save you money. Next time you need to fill your RV with diesel fuel, give a truck stop a try!
Robin and her husband, Mike, are Air Force veterans and empty nesters who have been traveling full-time in their Entegra Anthem motorhome for 5 years. Always ready to explore, they love nature and wildlife, meeting new friends and discovering America one stop at a time. Robin writes about their travel adventures, RVing tips, and the full-time RV lifestyle on her blog RVing with Robin.


