Roughing It at RV Shows

Roughing It At RV Shows & Rallies – You Can Do It!

In my last article, RV Shows & FMCA Rallies With AIM: What You Need To Know, I mentioned roughing it in the camping areas at these events:

The Tampa RV Show and FMCA Rallies are held at large, regional fairgrounds and outdoor event centers. The camping area is a huge, grassy field with makeshift power systems providing individual electrical hookups. Caravans usually park in the 30amp service area.

There are no individual water or sewer connections, but they do have fresh water and pump-out services you can arrange for a fee…”

Power, Sewer & Water

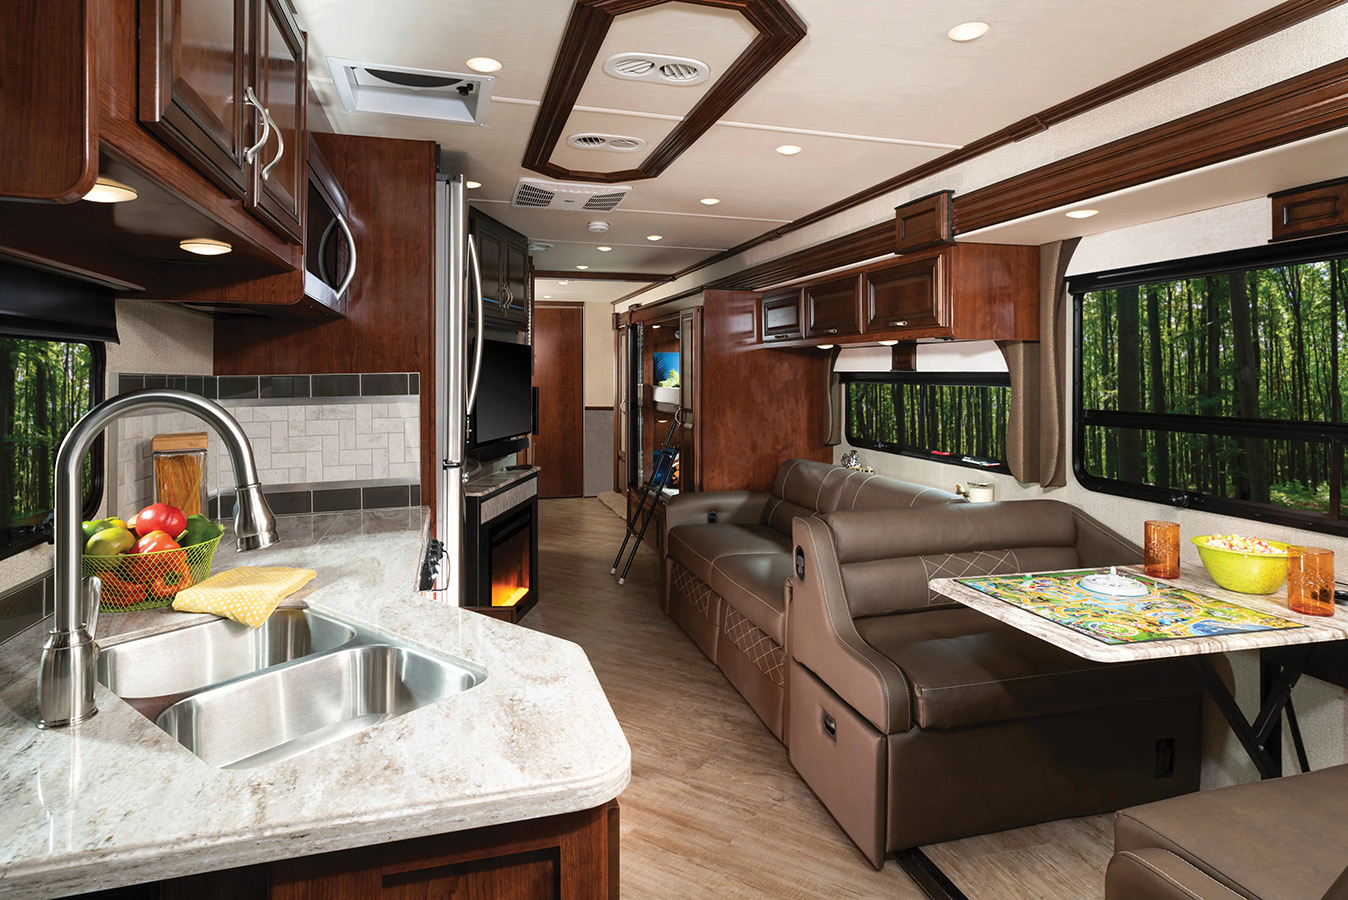
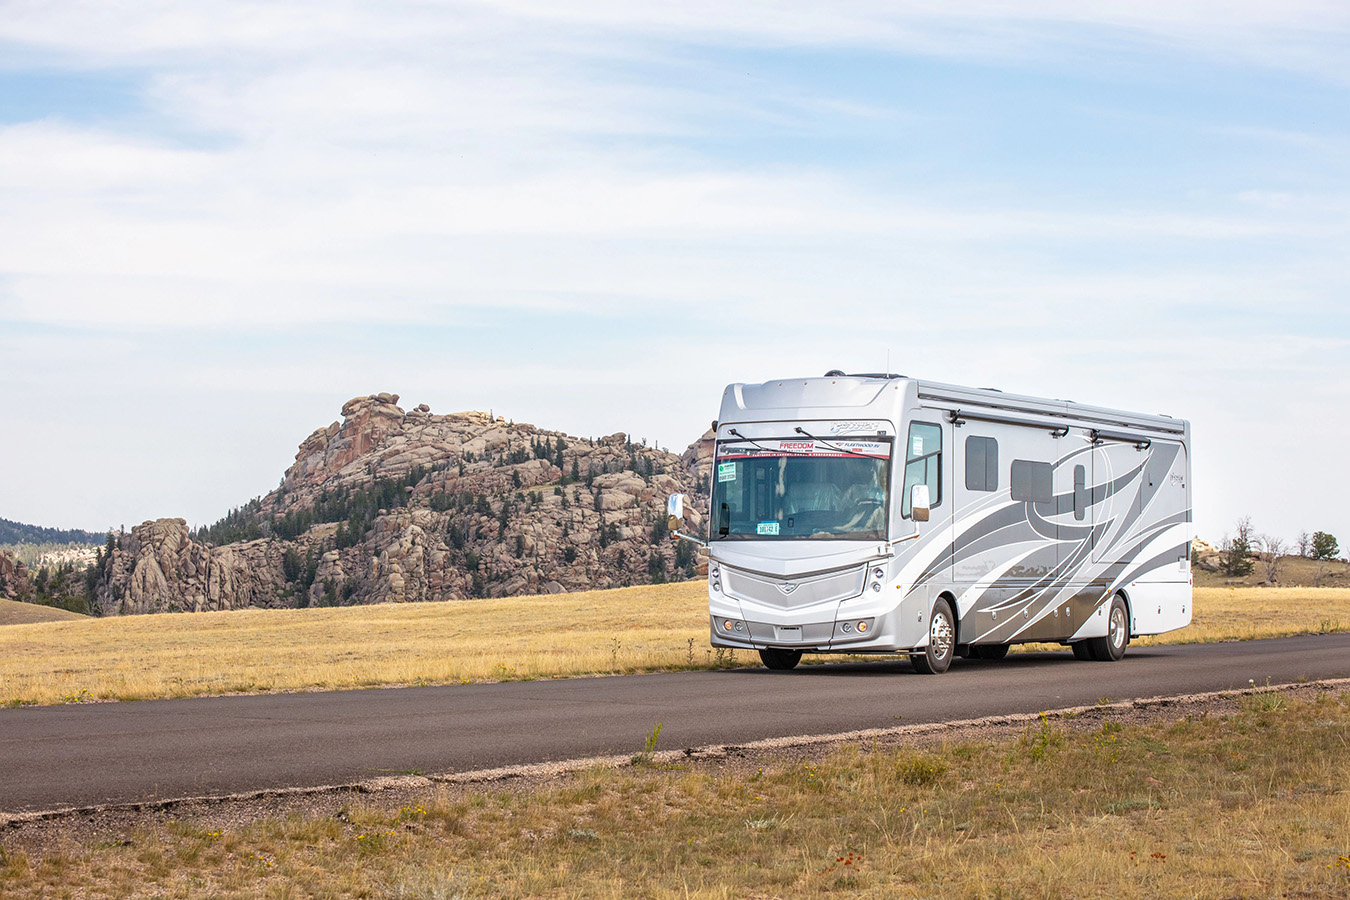
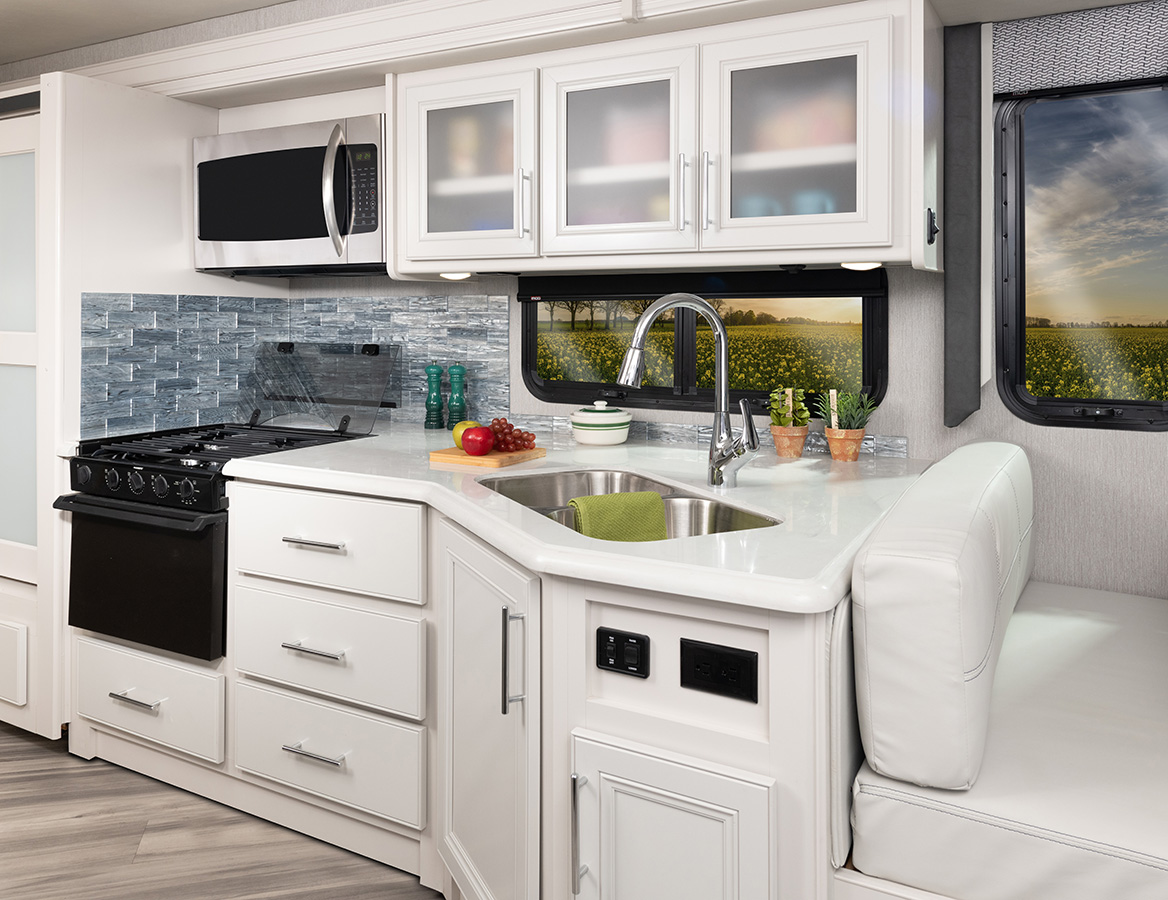
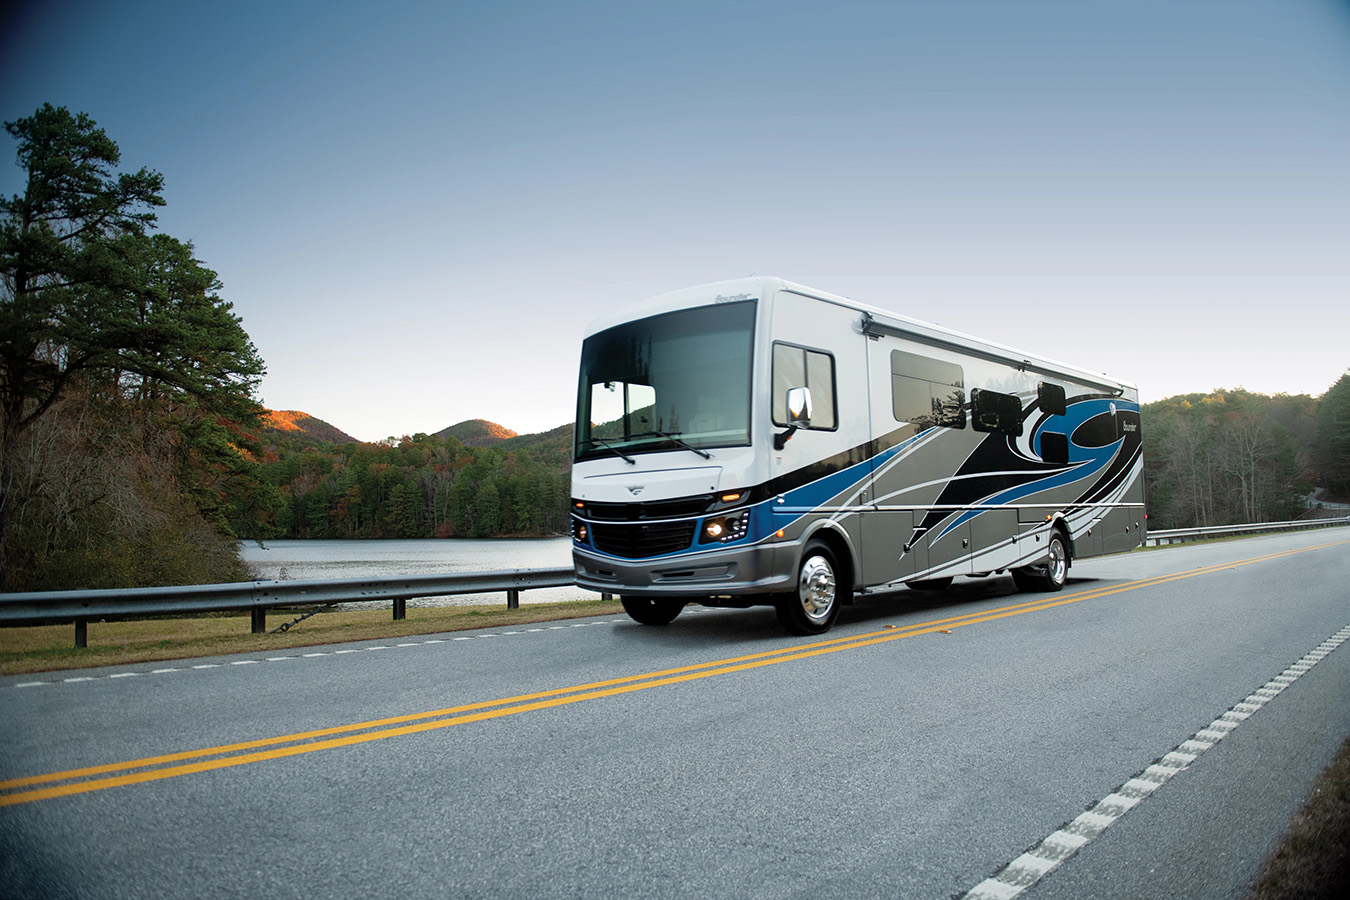
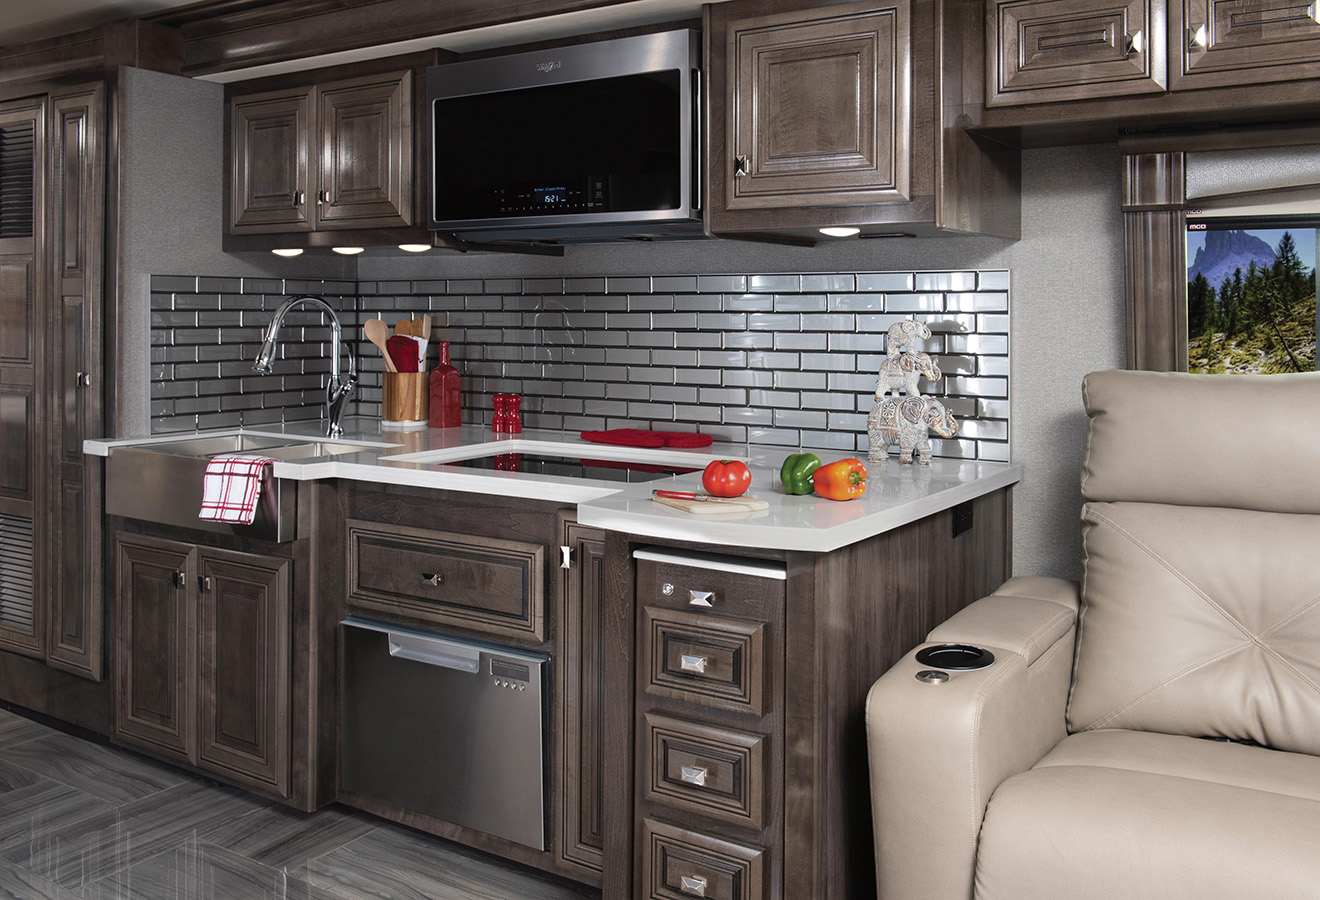
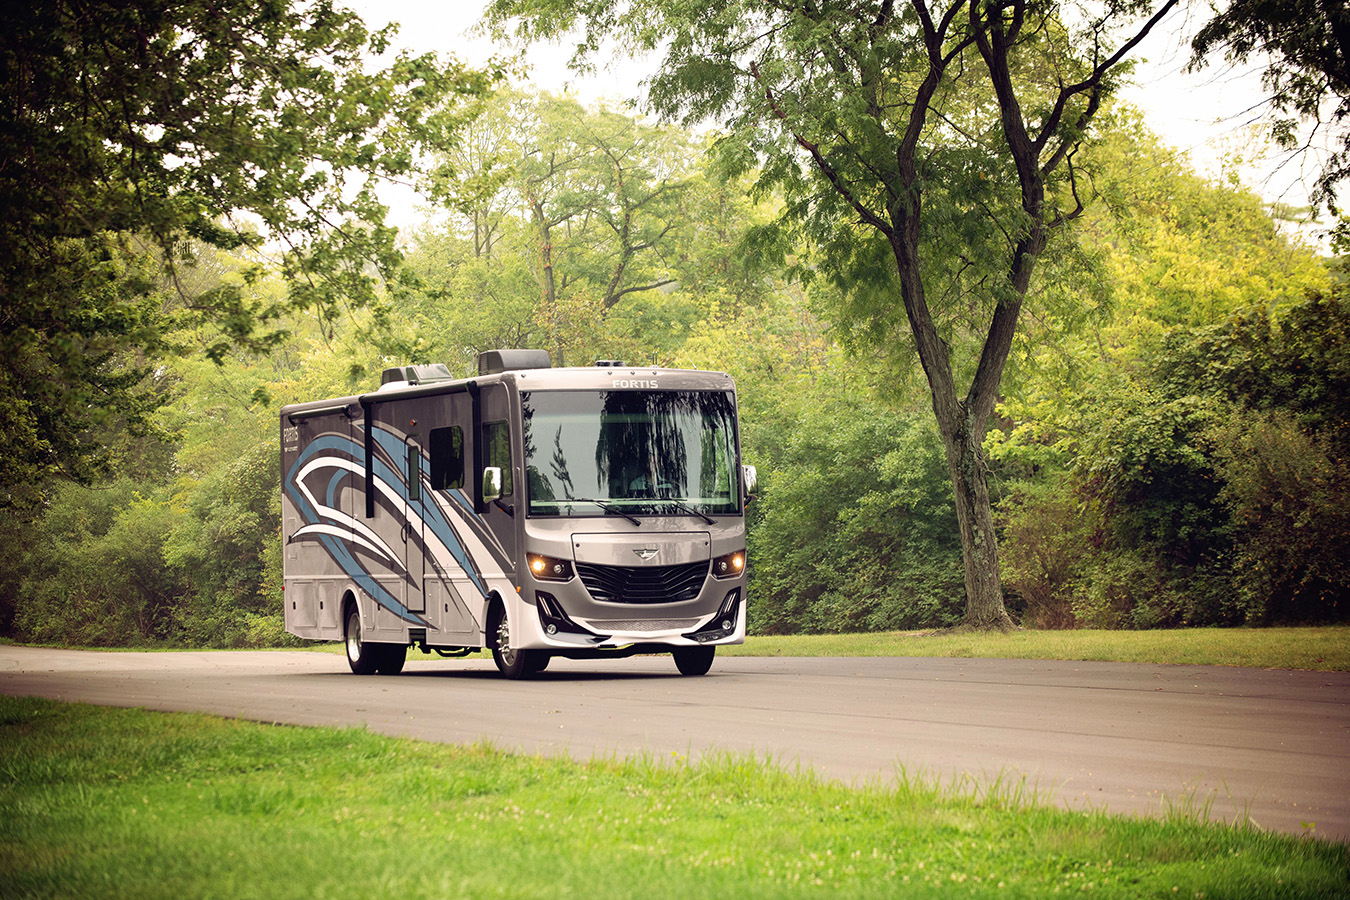
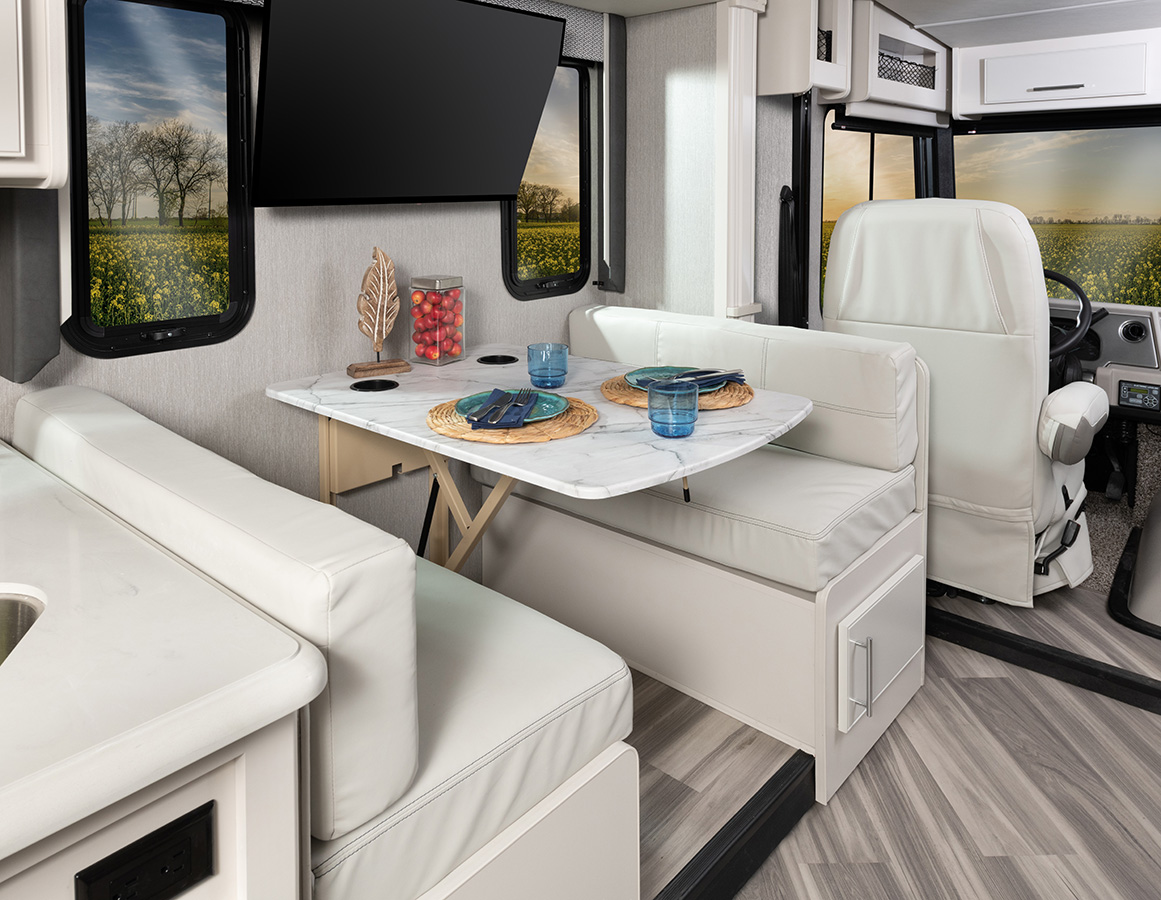
As a new-ish RV owner, I was not expecting this. Let’s face it, most of us don’t buy these big, beautiful motorhomes – basically fully-equipped luxury condos on wheels – to rough it. Am I right?

Before we started our full-time living, working and traveling adventure in our 2016 Entegra Aspire, I had never thought about amps or generators, mysterious black or gray tanks, or water pressure regulators. I just flipped the wall switch, flushed the toilet, or turned on the faucet, hot or cold, without another thought.

Amps for RV Beginners

Living full-time in the RV, I gradually learned – actually, sometimes quite abruptly – the difference between 20-, 30-, and 50-amp hookups. We had 20-amp service when Charlie-the-RV was in covered storage before we went full-time (long before we knew about NIRVC storage). 20-amps provided power to the fridge, mini-heaters to keep her from freezing that first winter, and a camera/alarm/monitoring system.

20-amp power in covered RV storage

50-amp service is, of course, the ideal for our multi-zone HVAC, residentially-applianced, teched-out rolling homes. 50-amp powers everything, and you don’t have to think too much about it.

104 degrees at sunset – 50-amp FHU in Walla Walla, WA

30-amp service was a shock – literally – when we first experienced the difference camping at RPI / Thousand Trails in Washington State and across the country. Sometimes 30-amp is all that’s available (although you still have water & sewer hookups, so 30-amp service isn’t really roughing it). 

I quickly learned:

  • You can generally only run one HVAC zone at a time on 30-amp power. (One HVAC unit consumes 13 – 18 amps.)
  • Even that might not work, if any other power drain starts up, for example:

– Stovetop = 11 amps

– Microwave = 15 amps

– Convection Oven on Bake = 18 amps

All the electric things have to add up to less than 30 amps in total, or bad things can happen. (In this specific example, you might end up crawling on your back in the basement to find the breaker for the Inverter, which is hidden underneath the unit in our Entegra, nowhere near any other fuses in the rig, but I digress.)

You can see how that might be a problem if you’re trying to run all three kitchen appliances at once, or even two of three, with anything else running (say, if you’re trying to make an elaborate brunch on a rainy Sunday morning…). 

Note: an automatic coffee maker is also a surprising amp-vampire (5 – 8 amps).

Just sitting quietly in the RV, with only accent lights and living room sconces, both of us working on our computers, with internet and all the various chargers and routers plugged in, consumes about 3 amps.

16 amps on 20-amp service – Monitor amp usage on Power Control System display. Ours is located in the front panel over the door in our 2016 Entegra Aspire

Successful Boondocking

Six months into our full-time RVing adventure, we had 30-amp service figured out. We had even boondocked successfully, with NO hook-ups, surviving on battery power and our generator, for a night or two. 

But then, on our way to our first FMCA Rally in Tucson, Arizona, it suddenly occurred to me:

  1. 30-amp service + 5 nights = okay, no problem!
  2. NO fresh water or sewer hookups + 5 nights = ???

I panicked.

Go to the Experts

FB post – Entegra Owners Group

Fortunately, fellow Entegra owners, friends and mentors came through for us, once again. They offered great tips and suggestions, some I would consider fairly extreme. But we tested, experimented, and somehow figured it out at that first rally. And then again, six months later, at the FMCA Rally in Lincoln, Nebraska.

We learned how to rough it and survive five nights on 30-amp service without sewer or fresh water hookups. If we can do it, you can too!

Twelve Quick Tips & Tricks for Roughing It at RV Rallies

  1. Arrange FHU (Full Hook Up) camping in a campground nearby the night before: Empty & Flush black and gray tanks.
         – Fill fresh water tank to capacity.
         – Go in with clean laundry and dishes.
         – Plan on NO dishwasher.
         – NO washer & dryer.
  2. Know your holding capacities for fresh water, black and gray tanks.
  3. Monitor tank levels daily: It’s all about the numbers!
  4. Bring extra drinking water. We brought 1 case of bottled water and 2 “suitcases” of fresh water (with the spout) for coffee, drinking, and refilling water bottles. (We drink a lot of water!)
  5. Plan meals to stock up on groceries and to minimize use of appliances, dishes, and clean up.
  6. Reduce, re-use, and recycle! Think paper plates & plastic utensils to minimize dish washing. (Fortunately, garbage cans and recycling containers are usually nearby and plentiful in the camping areas.)
  7. Use the facilities and services at the rally to reduce water usage and tank fill in your RV (i.e. restrooms, showers, dining options).
  8. Minimize use of your fresh water in the RV (and filling up your gray tank) by capturing clean water in a pitcher, bucket, or wash tub in the sink and shower when you’re warming up water for hand washing or showering. Use that water for dish washing or other needs. Use a stick sponge with soap in the handle for easy and quick dish washing.
  9. Embrace your natural state and go dirty, if you can. (Take a good, long shower at the FHU campground the night before.) But that’s just one option. We prefer good old every-other-day Navy Showers: Capture the water while it’s warming up (or go cold shower – it will be quicker!). Turn off water while you’re soaping up. (Another suggestion was using baby wipes for quick body wash instead of showers… but my memories of the true purpose and use of baby wipes are too vivid for that option – even after 20+ years!
  10. Toilet Talk: Avoid using your fancy macerator or electric flush toilet while camping at the rally. Your step-flush gravity toilet (if you have a half bath) uses much less water for a flush – and you can control how much you use. (Or you can even use captured water to flush, instead of fresh water.)
  11. Arrange pump-out & fresh water fill. These services are available at the rally, for a fee, and can easily be arranged with the event organization.
    (We didn’t figure out how to sign up for services before our first rally, so now we take it as a personal challenge to manage our usage with all the tips & tricks we’ve learned. 😉)
  12. Finally, plan your departure to the closest campground with full hookups and 50-amp service:
         – Dump your gray and black tanks.
         – Turn up the HVAC in as many zones as you desire.
         – Catch up on dish washing, laundry, etc.
         – Enjoy a REAL shower.

If you’ve come this far… Congratulate yourself and your partner on roughing it at the RV Rally – YOU DID IT! Safe travels & see you soon!

National Indoor RV Centers blogger Sherri Caldwell profile image

Sherri Caldwell is the founder of BooksAndTravelUSA.com – Full-time RV Travel Blog & Book Club/U.S. Literacy Project. With her husband, Russ, she is currently living, working, and traveling full-time in their 2016 Entegra Aspire: Charlie-The-Unicorn RV.

2023 Winnebago Models

2023 Winnebago Models

For those interested in a 2023 Winnebago RV, NIRVC now has units at our dealerships ready to go! Customers can also contact us to order a specific unit.

Winnebago Models

Winnebago has been a decades-long industry leader for a reason. They’re a company that places explicit focus on customer satisfaction, continually testing out their own products and making modifications based on customer feedback. Winnebago also designs and manufactures roughly 75% of their RV components themselves. From holding tanks, doors, and most everything in between, you know that Winnebago has been engineered to maximize functionality and efficiency. It’s this attention to detail and customer-first approach that has made the name “Winnebago” synonymous with RVing for generations. 

That same attention to detail and customer-first approach has earned NIRVC Nashville and NIRVC Las Vegas the 2022 Winnebago Flying W Dealer Excellence Award

Winnebago Flying W Dealership Excellence award 2022

Winnebago RV Models

National Indoor RV Centers are honored to carry Class AClass B and Class C Winnebago RVs. Learn more about Winnebago’s 2023 models from our RV expert Angie Morell in the videos below.

For a more in-depth view on each of these models, visit the links below:

All Inclusive Motorhome Club Delivers VIP Experiences

For RVers who are looking for adventure and excitement and the opportunity to connect with others who live and love the RV lifestyle, rallies hosted by the All Inclusive Motorhome Club (AIM) are the ticket. 

Established in 2016, AIM is a membership group that’s known for its spectacular gatherings. The four-day, five-night AIM rallies are held in intriguing, picturesque locations throughout the country. To ensure first-class amenities and activities, each location and resort are scouted months in advance by the AIM team.

NIRVC's Angie Morell at an All Inclusive Motorhome Club rally

Angie Morell with NIRVC visits with RVers at an AIM Club rally

The rallies are designed to exceed expectations and stand out from other “typical” gatherings. The AIM rallies feature: nightly entertainment; happy hour with beer and wine; tasty, catered meals; and informative tech talks and classes. With an AIM Club membership, most rallies are approximately $700 for two people and an RV and accommodate 100 coaches.

Everything is always taken care of. You just show up in your motorhome and relax and have fun,” says Robin Clark who, along with her husband Chuck, have attended several AIM rallies. “We’ve enjoyed every single rally we’ve gone to. Many of the locations are unique and give you the opportunity to explore places you haven’t previously been.”

And, while education sessions during a vacation may seem unusual, attendees soak up the information from the classes and their fellow RVers.

We’ve learned so much at the rallies,” says Deanna McNeill who, along with her husband Jeff, have gone to AIM rallies the last four years, including the recent one in Angel Fire, New Mexico. “Other RVers are always willing to share. We talk about everything from engines to mechanicals to cleaning supplies. It’s invaluable to connect with experienced RVers and get their tips and advice.” 

VIP Experiences

The highlight of each rally is a signature event that’s normally not available to the general public and is reserved exclusively for AIM Club members. 

All Inclusive Motorhome Club day trip rafting on the Colorado River

Previous AIM rallies have featured a wide range of extra-special activities, including:

  • A four-course dinner on the deck of the USS Midway Aircraft Carrier with a sweeping view of the San Diego skyline and a string quartet playing in the background 
  • An exclusive, behind-the-scenes tour of Sea World’s conservation program
  • An engaging progressive dinner at Titanic Museum in Branson, Missouri  
  • Whitewater rafting on the Colorado River
  • Private lessons at the New Orleans School of Cooking  

    The AIM Club has been a gateway for us. We’ve done things and gone places we would have never known about or wouldn’t have been able to access on our own,” adds McNeill. 

    Rallies Lead to Friendships 

    While RV life revolves around travel and exploration, it’s also about meeting new people and establishing friendships with like-minded individuals. Those who attend the AIM rallies regularly share stories of how they’ve been able to expand their circle of RV friends.

    A group of motorhome enthusiasts gathering at All Inclusive Motorhome AIM Club rally

    You meet people from everywhere,” says Clark. “We now have five or six couples we regularly travel with. In fact, we spent this past summer with a couple we met at an AIM rally.”

    Chuck Lasley, who leads the team that hosts and organizes the AIM rallies, notes the RVers who attend are welcoming and inclusive.

    Again and again we hear how our gatherings have led to life-long friendships that make RVing even better and more enjoyable and fun,” says Lasley.

    AIM Club Details

    An AIM Club membership costs as little as $34.95 a year and is open to anyone with a motorized RV. 

    Those who buy a new or used RV from National Indoor RV Centers receive a complimentary one-year membership. AIM Club members also get valuable discounts on services at National Indoor RV Centers. 

    For more information, visit aimclub.org.

    Proud to Be Voted Best in Las Vegas!

    In this year’s Best of Las Vegas Awards, we are honored to have been nominated in FIVE different categories, earning the following distinctions:

    • Best Class A Dealership: Gold
    • Best Class B Dealership: Gold
    • Best Class C Dealership: Silver
    • Best RV Service Center: Silver

    Thank you to all who voted for our Vegas location! These awards recognize businesses that help make Las Vegas the special place it is, and we are proud to be ranked among them.

    Congratulations to our Las Vegas team for their hard work and dedication to customer service that makes NIRVC an award-winning RV dealership!

    American Coach: Manufacturer Spotlight

    The ultimate in RV luxury experiences

    One of the most prestigious RV brands available is American Coach. For more than 30 years, American Coach RVs have redefined what luxury means in an RV through their focus on premium materials and next-level craftsmanship. Each of their luxury RVs is built to American Coach’s high standards, utilizing top-of-the-line parts, high-end materials and the latest technology to create a spectacular travel experience that spoils you every single trip.

    Luxury RV Amenities

    One of the Smoothest – and Safest – Rides on the Road

    American Coach has created the preeminent motorhome foundation by partnering with Freightliner® Custom Chassis. The result is an incredibly strong structure that provides an exceptionally smooth ride. And thanks to its unique design, it also boasts some of the largest pass-through storage in RV history. In addition, most models feature the Select Drive premium steering system which provides smart driving assistance, enabling you to conquer bad weather conditions and challenging roads with ease.

    A Force to Be Reckoned With

    One of the best things about American Coach is that they didn’t let their dedication to true luxury get in the way of creating a true workhorse for the highway. Their 2023 American Eagle boasts a Cummins® ISX15 605 horsepower engine with Allison 4000 SeriesTM six-speed transmission and 20,000 lbs. towing capacity. Not bad for a luxury palace on wheels.

     Premium Amenities, Standard

    When it comes to onboard luxuries, American Coach doesn’t hold back: full bathrooms with side-by-side sinks, ceramic tile backsplashes, regal quartz countertops, residential-style kitchens with kitchen island prep areas…the list goes on (and it’s all standard). Truly a luxury home away from home.

    State-of-the-Art Materials & Construction 

    Freedom Floor with HWH®

    Up until now, it was virtually impossible to eliminate carpet in all areas—especially slideouts. But American Coach has engineered a way to do it, meaning your beautiful porcelain floor can extend the entire length of your RV.

    V-Ride Rear Suspension 

    American Coach uses the first single-axle suspension rated at up to 24,000 pounds, meaning you can carry more gear without sacrificing ease or safety.

    Premium Shocks, Brakes, Tires and Wheels 

    Custom-tuned SACHS shocks dampen the rigors of the road. Bendix disc brakes reduce fade and brake noise, and Michelin tires on aluminum wheels give you reliability and style.

    Double-Wishbone Independent Front Suspension

    Experience superior handling with this system, which uses dual wishbone-shaped arms to minimize roll and sway while allowing for a 60-degree wheel radius.

    Power Generator Slide

    Press a button and the lower fiberglass front fascia opens up to reveal the front chassis components and generator for easy maintenance access.

    Ultrasteer Tag

    Following the ideal turning path of the front suspension, the UltraSteer tag axle gives you precise maneuvering and provides up to a 17% reduction in curb-to-curb turning radius.

    American Coach RVs

    Though the inventory changes often here at NIRVC, you can typically find these American Coach models in a variety of floor plan options:

    Class A Diesel

    • American Coach American Dream
    • American Coach American Eagle
    • American Coach American Tradition

    Class B

    • American Coach American Patriot
    • American Coach American Patriot Cruiser

    Check out Angie’s walkthrough of American Coach models:

    Browse our current American Coach inventory by location and talk to one of our RV Lifestyle Specialists today!

    Fleetwood RV: Manufacturer Spotlight

    A luxury mobile home-away-from-home

    For more than 65 years, Fleetwood RV has been one of the most popular RV brands on the highway. Designed to be both reliable vehicle and home sweet home-away-from-home, this trailblazer brand combines innovative construction techniques and premium materials with on-board tech that makes your life easier. The result? A luxury RV experience that’s always one step ahead of the competition.

    Luxury RV Amenities 

    Built to Outlast

    Over the course of more than six decades, Fleetwood RV has evolved its approach to design and construction, resulting in one of the most reliable and long-lasting RVs on the market: exclusive chassis that provide smoother handling and increased storage; signature PowerLock™ sidewall-to-roof construction that ensures less wear and tear than other brands; and an endless list of additional innovative approaches, including Dryseal™ edge coating to prevent delamination, Solid Bead-Foam Engineered Fit Insulation™, and more.

    Innovative Layouts

    In 2023, Fleetwood introduced two brand new floor plans in their Frontier GTX that will raise the bar for all future luxury RV layouts:

    • the 39TA bucks tradition with an L-shaped galley, giving you a more spacious, open feel than other traditional RV layouts
    • the 37RT helps you put the “remote” in “remote work” by adding an actual isolated office space in the rear of the vehicle

    Everything Your Group Outing Needs

    Whether it’s your immediate family or a large group of your closest friends, Fleetwood RV gives you everything you need for the adventure ahead: plenty of places to sleep, sit, and shower; ample towing capacity and storage space to bring everything with you; and exterior entertainment centers (on select models) to host end-of-day movie nights under the stars. 

    State-of-the-Art Materials & Construction

    Fleetwood RV’s Two Exclusive Chassis 

    Fleetwood Freedom Bridge®
    (Diesel Only)

    Fleetwood RV’s proprietary all-steel structure creates a true side-to-side, front-to-rear and belly-to-beltline bridging platform that pairs perfectly with the Freightliner XCM® chassis. They specifically design them for each Class A Diesel floor plan, improving reliability and handling and increasing basement storage. 

    Browse our Fleetwood RV inventory that is built on the Fleetwood Freedom Bridge Chassis here

    National Indoor RV Centers Fleetwood RV spotlight freedom bridge chassis

    Fleetwood Power Platform®
    (Gas Only)

    For Fleetwood RV’s exclusive gas chassis, they take the Ford® drivetrain and create a solid platform to build on. The result is enhanced balance and control, as well as the strength to carry more weight. Additionally, the design allows for larger pass-through storage.

    Check out our Fleetwood RV inventory that is built on the Fleetwood Power Platform Chassis here.

    National Indoor RV Centers Fleetwood spotlight power platform chassis

    Automatic Hydraulic Level System

    Fleetwood RV’s four-point hydraulic system is more reliable than electric jacks and provides smooth and simple leveling at the push of a button.

    NIRVC Fleetwood construction automatic hydraulic leveling system

    Tuff Coat Fiberglass Walls 

    Fleetwood RV’s UV and weather-resistant fiberglass skin is not adhered to wood substrate, meaning there is much less chance of delamination.

    National Indoor RV Centers Fleetwood spotlight blog tuff coat fiberglass walls

    Vacu-Bond™ Construction 

    Fleetwood RV applies 415,000 pounds of vacuum pressure for 30 minutes to create some of the straightest, flattest and strongest walls on the market.

    National Indoor RV Centers Fleetwood spotlight vacu-bond construction

    TPO Engineered Vinyl Roofing 

    Resilient & low-maintenance thermoplastic polyolefin or “Tuff-Ply” is flexible and easily conforms to the roofline radius with little to no stress at the awning rail connection seam.

    National Indoor RV Centers Fleetwood RV spotlight TPO engineered vinyl roofing

    Solid Bead-Foam Engineered Fit Insulation™

    Using exact measurements, Fleetwood RV places bead-foam between every structural support to eliminate air holes and provide superior temperature and sound insulation.

    National Indoor RV Centers Fleetwood RV spotlight solid bead foam engineered fit insulation

    Tapered Slide Out Box Tops

    By slightly pitching their slideout box rooflines, water is directed away from Fleetwood RVs, providing an additional level of moisture protection.


    National Indoor RV Centers Fleetwood RV spotlight tapered slide out box tops

    Seamless Metallic Slide Room Underbellies

    Fleetwood RV covers their slideout bottoms with metal as an extra safeguard against the elements.

    National Indoor RV Centers Fleetwood RV spotlight seamless metallic slide room underbellies

    Full-Length Metallic A/C Ducting 

    Fleetwood RV ditches the cut-out foam channels in favor of insulated ducting that runs the entire length of the RV, placing outlets in the most occupied places to assure cool comfort.

    National Indoor RV Centers Fleetwood RV spotlight full-length ducting

    Sure-Glide Flush Floor Aluminum Slide Transition Ramps

    Fleetwood RV’s aluminum ramps are much more durable and reliable than the industry-standard pinewood, which absorb moisture, crack and rot.

    National Indoor RV Centers Fleetwood RV spotlight sure glide

    Fleetwood RV Models

    Though the inventory changes often here at NIRVC, you can typically find these Class A Fleetwood RV models in a variety of floor plan options:

    Class A Diesel

    • Discovery
    • Discovery LXE
    • Excursion
    • Frontier
    • Frontier GTX
    • Pace Arrow

    Class A Gas

    • Bounder
    • Flair
    • Flex
    • Fortis
    • Southwind

    Browse our Fleetwood RV inventory by location and talk to one of our RV Lifestyle Specialists today!

    Introduction to Air Brakes

    Next to tires, brakes are the next most important system on your motorhome. A gasoline powered Class A motorhome will be equipped with hydraulic brakes, similar to your car, SUV or light truck. Diesel pushers or Super C coaches are heavier and will be equipped with air brakes that are better suited to handle that extra weight. For example, if a coach requires 200 HP to accelerate it from zero to 65 MPH in one minute, it will take ten times that force to bring the coach to a stop within 6 seconds – which is one tenth the time. Therefore, this coach needs to have a braking system designed to generate 2,000 HP to accomplish this. Hydraulic brakes don’t have the capability to stop heavier vehicles in a timely manner, which is why air brakes are used on larger vehicles such as class 8 trucks and diesel pusher motorhomes.

    Air brakes aren’t something that the average owner is capable of doing any kind of service work on. That task is best left for certified professionals, such as the chassis technicians at National Indoor RV Centers, but there are still a few tasks that every owner needs to do and safety checks to perform other than just stepping on the brake pedal. But first, let’s start with a brief tutorial on how air brakes work.

    Disc versus Drum

    Drum brakes have been around forever. Disk brakes first showed up in the 1960s on passenger vehicles but it took another 40 years for them to show up on heavy duty trucks and motorhomes as air operated disk brakes. Drum brakes have their limitations. They function best at around 475 degrees,  so when cold,  you won’t have maximum stopping power. Their shoes begin to glaze around 800 degrees, so excessive use on mountain grades can cause them to fade and fail. They also don’t work well if they get wet – not until the drum can heat up and dry them out.

    Disc brakes utilize pads that are in constant contact with the brake rotors. This keeps them warm and eliminates them from getting too cool so that they will have more stopping power when the brakes are applied. They also handle water better than drum brakes and are much harder to overheat because they are in the open air rather than allowing the heat to stay trapped inside a brake drum. The stopping power is much greater than in a drum brake and there is less maintenance due to a design that has less internal components to fail.

    RV Air Brakes

    Disc brakes set up on a tag axle

    RV Air System

    Instead of hydraulic brake fluid, air brakes use compressed air supplied by an engine driven air compressor. Hydraulic brake fluid is hygroscopic, which means it attracts moisture. This moisture can turn to steam once the brakes heat up, resulting in a soft pedal. For this reason, hydraulic brake fluid should be changed every 2-3 years.

    Air brakes don’t have that problem because the supply of air is always refreshed as the compressor intakes air and sends it to the air storage tanks. As the brakes are used, the air is constantly replenished. The air compressor’s governor will regulate the air pressure and the adjustable regulator is set to cut out between 115 PSI at a minimum and 135 PSI maximum. As the air pressure in the tanks drops by about 25 PSI, the regulator will tell the compressor to kick in and raise the pressure to the cutout point. Most chassis manufacturers set the cutout pressure at 130 PSI and the cut-in pressure to 105 PSI.

    Moisture and Air

    The air needs to be clean and dry. If moisture builds up in the system, it can cause issues with the O-rings, diaphragms and other components in the air system – not to mention freezing in cold weather. Any oil or other contaminants that exit the compressor can also damage diaphragms and other rubber components. For this reason, an air brake system will include an air dryer, which is a key component for any air brake system.

    The air dryer is located between the air compressor and the air tanks and utilizes centrifugal force to spin off heavy sediment and moisture, trapping it in the bottom chamber of the dryer, which is heated to prevent freezing in cold temperatures. A secondary spin-on desiccant filter cartridge acts as a final filter to ensure that the air that exits the dryer is clean and moisture-free. As the compressor cycles and arrives at its cutout point it will send a pneumatic purge signal to the dryer and it will spit out the contents of the lower chamber to keep it clean. When that happens you hear a short blast from the rear of the coach as the dryer purges.

    Air Dryer

    Air Tanks and Lines

    Most systems utilize three air tanks, although there are always exceptions to the rule. Initially, the air goes to what is commonly called the “wet tank” but is also referred to as the “ping tank”. The air that arrives here expands and moisture is allowed to condense and settle in the bottom of the tank. This tank also acts as a buffer to remove any pulsation in the air being sent by the compressor. After this, the air goes to the primary and secondary air tanks. The primary tank is sometimes referred to as the “rear tank” because it supplies air to the rear axle brakes, which is where the lion’s share of braking is performed. The secondary tank may be referred to as the “front tank” because it sends air to the front axle brakes. It also supplies air for the air suspension system and any accessories, such as air horns. Both the primary and secondary tanks will have pressure gauges on the driver’s instrument panel as well as a low pressure alarm that will sound whenever the air pressure drops below 60 PSI.

    Each tank has a safety valve designed to open at 150 PSI. They are also equipped with drain valves, which will have manual pull cables so that they can be drained. Oftentimes, they will also have automatic drain valves to eliminate any moisture from building up in the tanks. These automatic drains may be heated as well and operate on an internal pressure differential. The brake lines from the primary tank to the front brakes will be green in color, while the lines from the secondary tank to the rear brakes will be red in color. Air suspension lines are not required to meet these codes so they can be any color, but are usually black.

    Brake Chambers and Wheel Components

    Air drum  brakes use brake shoes and drums similar to a hydraulic brake system, but the mechanism to operate them is quite different. Air brakes use a shaft with cams on the end. The shaft is twisted and the cams act upon the rollers on the end of the brake shoes to expand them. The shaft extends inboard and away from the wheel and is connected to a brake diaphragm chamber via an arm called a “slack adjuster”. Slack adjusters are adjustable so that the brake diaphragm only needs to move a certain amount to apply the brakes.

    Today’s coaches use automatic slack adjusters, so under normal operating conditions, they should remain properly adjusted. If the coach sits for long periods of time, these cams can get rusty and the brakes will stick and not apply smoothly as the cam attempts to slide against the roller to apply the brake shoes and can actually freeze up in the locked position. In either case, it will be necessary to have the cams and rollers serviced and cleaned to restore smooth operation.

    The brake diaphragms are fairly large in diameter, maybe 6-10”. A pushrod exits the center of the brake chamber and connects to the slack adjuster that operates the brake shaft. If the brakes are worn or the slack adjuster is not properly adjusted, the shaft will expose a red band that indicates excessive extension of the chamber’s shaft. If this happens, it’s time for brake service

    These brake diaphragms are used on the front steer and rear tag axles. Drive axles use a different style called a “spring brake”. The spring brake also acts as a parking brake and uses spring pressure to actuate. This ensures that your coach won’t roll away should the air pressure drop and also will stop the coach when driving in the event of a total failure of the air system. Spring brakes will automatically deploy when the pressure drops below 60 PSI.

    Spring Brakes

    Spring brakes are used on the drive axle and function as a parking brake as well as a service brake.

    To release the parking brake, you first need to ensure that you have adequate air pressure, and then push the yellow park brake knob in. This will apply pressure to the front chamber of the dual chamber spring brake to release the parking brake. So in effect, spring brakes use air pressure to release the brake rather than apply it. Spring brakes are only found on the drive axle, so it’s important to keep the drive axle on the ground and not raised on jacks when parked or else it won’t serve as a parking brake. Spring brakes are never used on the front axle because it would be impossible to steer with locked up front brakes should the air pressure drop while driving. During normal driving, air pressure is applied to the drive axle to stop the vehicle but that is done through the anti-compounding valve, which we’ll get into a bit later.

    Spring Brake

    Cutaway view of a spring brake.

    Disc brakes don’t use slack adjusters, brake shoes or rotary cams. They operate by using brake diaphragms to apply pressure to the calipers, some of which are totally sealed. They are self-adjusting but have a different and less complex method to achieve that.

    RV Valves

    Numerous valves are included to allow the brake system to safely bring the vehicle to a stop should a failure occur in the system. A one-way check valve is installed on the inlet to the primary air tank to prevent any air from draining back into the wet tank should a failure occur in that area. The secondary tank is equipped with a Pressure Control Check Valve (PCCV) if the system uses a regenerative style dryer, such as the Wabco, which utilizes dry filtered air to regenerate the dryer. This valve allows air to flow into the secondary tank at all times but will allow air to flow back to the wet tank only if the pressure is above 95 PSI. This will maintain a minimum pressure in the secondary tank but still allow the air dryer to use 10 PSI of clean air from the secondary tank during the dryer’s regeneration purge.

    The dual foot control or treadle valve applies air to both the primary and secondary braking systems in response to the driver’s foot pressure. The primary valve is applied mechanically via the pedal, but the secondary valve is applied via air from the primary side. If the primary side has failed and has no air pressure, the secondary side is mechanically applied. Spartan sets their foot control valve to apply 3-5 PSI of air to the primary side before applying the secondary side. This applies the rear brakes slightly before the front and minimizes nose dive under braking.

    Quick Release Valves are used on the secondary system to release air pressure from the front axle brake chambers quickly to disengage the brakes. On many brake systems, you can hear them operate as they make a honking sound when you release the brake pedal. Service relay valves are used on the primary system to improve brake balance on the longer runs from the foot pedal to the rear brakes. These relay valves are similar to the quick release valves but are connected directly to a reservoir for faster response and better control of the airflow.

    The dash control valve, commonly called the push-pull valve, is used to deploy the parking brake. Pushing the yellow knob in applies air pressure to the parking brake to release it. Pulling out on the knob exhausts air pressure from the parking brake, allowing spring force to apply it. Should the system air pressure drop below 20 PSI, the yellow knob will automatically pop out – keeping in mind that the spring brakes have already been applied once the air pressure dropped to 60 PSI. If a massive failure of the air supply system occurs when driving, it should be noted that the rear brake will not totally lock up so that you lose control, but the brakes will bring the vehicle to a fairly abrupt stop. A Two-Way Check Valve supplies air from both the primary and secondary systems and will allow air from the dominant system to flow to the dash control valve so that you can release the parking brake if one system experiences a failure.

    RV Parking Brake

    The yellow parking brake pull knob is commonly referred to as the push-pull knob.

    Anti-Compounding Valve

    Spring brakes use spring tension to apply the parking brake while an air chamber is used to release the parking brake. A second chamber is used for the service side of the system and is used to apply the service brakes when driving. The spring in a 30” spring chamber produces about 1,800 lbs. of force when parked. If the spring brake is connected to a 6” slack adjuster arm, it would produce 10,800 inch lbs. of torque. At the same time, the driver steps on the pedal and delivers 50 PSI to the service side of the spring brake. 50 PSI x 30 sq. in. = 1,500 lbs. force x 6” slack arm = 9,000 in. lbs. of additional force. This is compounding.

    Compounding can lead to premature cracking or breaking of brake drums, bent chamber push rods, mounting studs torn out of the spring brakes, broken slack adjusters or torn spring brake mounting brackets on the axle. While not mandated by law, an anti-compounding system will prevent this from happening. This is accomplished via an Anti-Compounding Valve which is a Quick Release Valve with a Double Check valve built into it. This will apply air pressure to the parking brake chamber at the same time as air is applied to the service brake chamber, releasing the appropriate amount of park brake pressure in relation to the service brake pressure – preventing excessive pressure from damaging the spring brakes.

    Inversion Valve Emergency System

    An Inversion Valve is mandated by law as of 1975. Under normal conditions, this valve does not have to work. It only serves as an emergency valve in the event of a failure in the primary air system when driving. If the air pressure in the primary system drops to zero, the parking brakes will be held in the released position with air from the secondary tank.

      An inversion valve

    The inversion valve receives the signal from the foot pedal and equally releases pressure on the spring brake chamber to apply the service brakes mechanically with power from the spring portion. When the brake pedal is released, air is restored to the spring brake chamber to release the brakes.

    Anti-lock Braking Systems

    Anti-lock Braking Systems (ABS) utilize electronic controls to release the brakes in the event of a wheel lock-up during a hard stop. A tooth wheel and electronic sensor are found on every wheel position and senses any wheels that have stopped turning. The electronic brain then communicates with a valve that will remove air pressure from that wheel position to allow it to resume turning. The valves operate quickly and typically can perform this up to 5 times per second. If you ever do a panic stop or begin to slide in slippery conditions, just keep your foot on the brake pedal and allow the ABS system to modulate the brake pressure. Backing off the pedal will be counter-productive and you’ll actually increase your stopping distance.

    Part of the pre-trip inspection is to hold down the brake pedal while purging the ABS modules

    Proper Startup Procedure

    Automatic slack adjusters take a bit of effort to operate. If your driving style leans toward heavy engine brake usage and minimal service brake usage, the odds are good that your service brakes will not be in proper adjustment and won’t be very effective when you need to seriously use them. Drum brake systems require at least 65 PSI of braking pressure to operate, which is a fair amount of brake pedal pressure. Disc brakes aren’t quite as severe and only require about 20 PSI to operate. A quick, firm application of the brake pedal will help to keep them adjusted.

    ABS systems rarely get used and are more like an insurance policy in that they are invaluable if the need ever arises. However, sitting idle isn’t the best for any vehicle component. The ABS ejector ports can freeze up from lack of use over time. Spartan Chassis recommends using the following procedure to exercise the ABS system every time you start the coach:

    1. Apply the foot brake with medium pressure and hold.
    2. Turn the ignition key on but do not start the engine, continuing to hold the brake pedal down.
    3. You should hear four or six pops (one for each wheel) as each ABS modulator cycles through and exhausts the port.
    4. Start the engine and release the parking brake.
    5. Apply the foot brake with full pedal pressure, then release it. This will operate the self-adjusters to keep your brakes in proper adjustment.

        This training tool at the Spartan Training Center contains all of the components required to create a complete braking system. The various pressure gauges and test points assist the trainee in learning exactly how the various components operate.

        Checking the Air Tanks and Valves

        Most coaches are equipped with lanyards to operate the manual air tank drain valves. Generally, these are located inside a wheel well but exceptions exist so check your manual for the exact location of the lanyards or valves on your particular coach.

        Many air tank drain valves are actuated by pulling lanyards within the wheel wells. For safety reasons, it’s important to use a device such as an awning hook to operate these lanyards.

        Modern coaches are equipped with an air dryer that provides clean, dry air to the system so you may feel the need for manually draining the air tanks is an exercise in futility, but that is not the case. If the air tanks are drained in the correct procedure, it serves as a diagnostic tool to check the integrity of your air system. First of all, if your air dryer is functioning correctly, you will see little or no moisture being ejected from the air tanks when you pull the lanyard. If you do, it will indicate that your air dryer needs to be serviced and the desiccant cartridge replaced. Secondly, by using the following procedure you will be able to verify that your various check valves are operating correctly:

        1. Make sure both air gauges are reading 70 PSI or less. If the gauges read higher, bleed the system down by pumping the brake pedal until the gauges read 70 PSI or less.
        2. Start the engine and run at high idle (1200 RPM or higher) until the air dryer purges in the back of the coach
        3. Turn the key to the “off” position to stop the engine. Then turn the key back to the “on” position so that the gauges will function. Do not start the engine.
        4. Never reach your arm into a wheel well or crawl beneath the coach when you drain the air tanks. If you can’t safely reach the lanyards with your awning hook, use some way – such as jack stands – to support the vehicle. Sometimes you can just turn the steering wheel to give you more access to the wheel well.
        5. Locate your lanyard or petcock locations. There should be three of them, one to each tank although some tanks are split into two separate compartments so there may be two drain valves on one tank.
        6. Drain the air completely from the wet tank. This should be identified by a clear or gray lanyard cable.
        7. Go into the coach and check the gauges. They should not read zero. This will ensure that the check valve between the primary and wet tank is functioning properly.
        8. Next drain the primary tank completely. This should be identified by a green lanyard cable.
        9. Check the air pressure gauges once again. The rear gauge (primary system) should be reading zero and the front gauge (secondary system) should not be reading zero.  This will ensure that the check valve between the primary and secondary tank is functioning properly.
        10. If either of these valves is not functioning as they should, take the coach to a service center to have these valves serviced or replaced.
        11. Now drain the secondary tank completely. This should be identified by a red lanyard cable.
        12. Check the gauges again. Both gauges should now read zero.
        13. If significant moisture was found when draining the tanks, it’s time to have the air dryer serviced. The desiccant cartridge typically lasts for 2-3 years, but the lifetime will vary according to how often the coach is driven and how humid the environment is. The main purpose of the tank draining procedure is to check for when the moisture begins to appear, which indicates when the dryer needs to be serviced.
        14. Make sure that all of the petcocks or drain valves are closed and restart the engine. Run at a fast idle until the air dryer purges. The system should now be ready for operation and both gauges should read somewhere around 110 PSI.

        Lastly, there is an “official” pre-trip inspection. I realize that most motorhome owners simply start the engine, raise the jacks, bring in the slides and hit the road, but a true pre-trip inspection is recommended by the federal DOT to verify that the coach brakes are functioning correctly.

        In fact, this procedure would probably be on a CDL test. I’d wager that most truckers don’t follow this either and it’s not something I do every morning that I leave – but it can be helpful. It will show you if your braking system has any leaks or has any issues such as a restricted air dryer or sub-standard compressor that can result in not making enough air, so this can be a good test if you suspect anything. A typical pre-trip inspection should consist of the following procedure:

        1. Manually drain the air tanks.
        2. Run the engine at fast idle. The air pressure should go from 50 PSI to 90 PSI in less than 3 minutes.
        3. The air governor should unload the compressor at a minimum of 115 PSI and a maximum of 135 PSI.
        4. Fan the brake pedal to drop the air pressure to 80 PSI. If the governor is functioning correctly, the pressure should begin to rise.
        5. Continue fanning the brake pedal. The low air pressure alarm should sound at approximately 60 PSI.
        6. Build up a full head of air pressure and switch off the engine.
        7. Release the spring (parking) brake.
        8. Apply full brake pedal pressure and hold.
        9. Hold this pedal pressure for at least 2 minutes. The air pressure should drop no more than 3 PSI per minute. If there is excessive pressure loss, you have a leaky fitting or component in your brake system – possibly even a leaky brake diaphragm. Note that this assumes that your air-ride suspension is fully inflated and you are no longer using chassis air to inflate the airbags. If your pressure drops without applying the brake pedal, you may have a leaky air bag in your suspension.

            When you get right down to it, air brake systems are filled with safety features and the ability to safely handle many failures that may occur in the system. With just a little bit of understanding of the basics and a bit of effort put into performing the various tests and checks, you’ll be able operate your air brake equipped coach safely and be able to determine if something isn’t quite right. This way, you’ll know when to take it in for service and have the issue corrected.

            National Indoor RV Centers blogger Mark Quasius profile picture
            Mark Quasius is the founder of RVtechMag.com, the past Midwest editor of RV Magazine, writes for numerous RV-related publications and a regular Contributor to FMCA’s Family RVing Magazine. Mark and his wife Leann travel in their 2016 Entegra Cornerstone.