Robin Buck, a full-time RVer and travel blogger, shares about ways you can preserve your travel memories.
A great benefit of owning an RV is the ability to travel the country to visit new and interesting places. Whether you are taking a quick summer vacation or going on an extended trip, you will want to remember all of the fun times you had. We like being able to share our journey with family and friends, but also want to make sure our travel experiences stay vivid and unforgettable later on. These 7 creative ways to preserve your trip will help you capture those wonderful memories and make sure they stay with you long after the trip is over.
1. Journal Your Adventures
One of the most traditional yet timeless methods of preserving travel memories is by keeping a travel journal. The act of putting pen to paper can help you relive your experiences, capture your emotions, and document the small details that often get forgotten. Try to write daily entries about your activities, the people you meet, and your impressions of the places you visit. As an alternative to a full-blown journal, I have found that a planning calendar can be a good place to document travels, notes, and timelines.
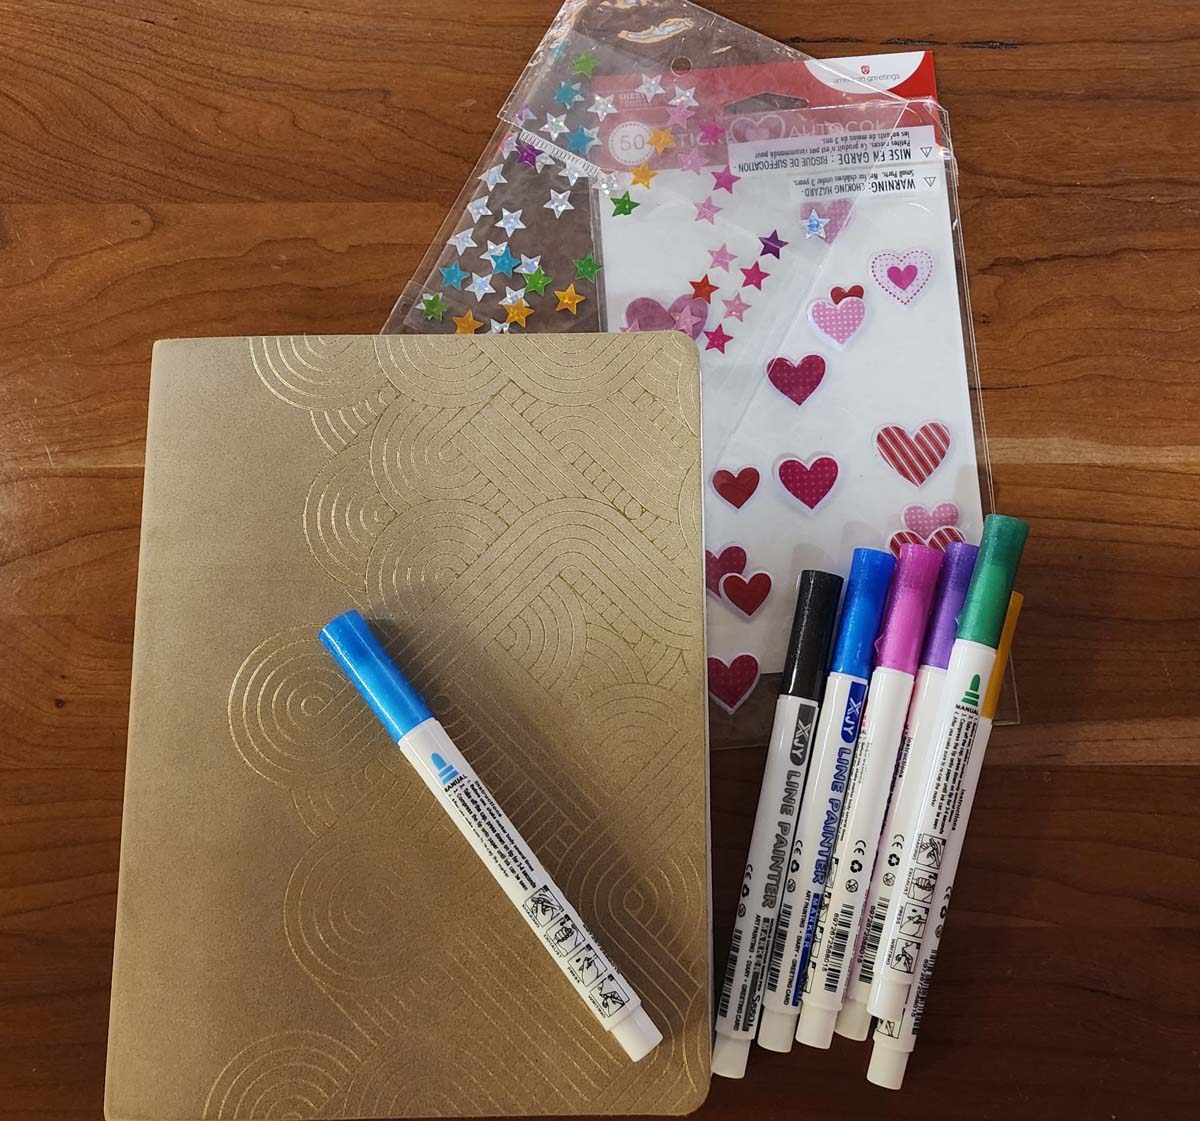
2. Compile a Travel Scrapbook
One step up from a travel journal is a travel scrapbook. Here you can combine your journal entries along with sketches, photographs, and mementos all in one place. Many people enjoy including postcards they sent to themselves from each place or ticket stubs and brochures from attractions they visited. This tactile and creative approach allows you to craft a personalized keepsake to hold your cherished memories. By using decorative paper, stickers, and markers to embellish your pages you’ll not only see but also feel the memories come to life.
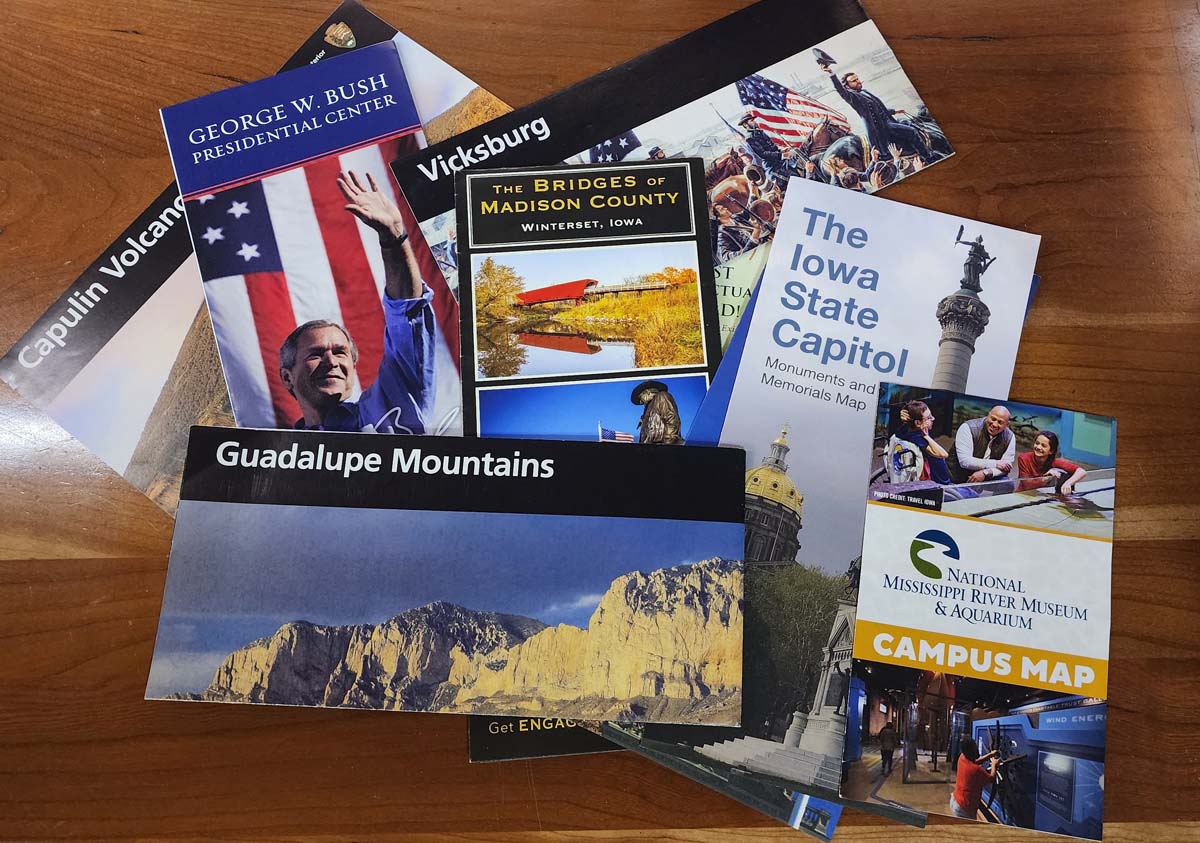
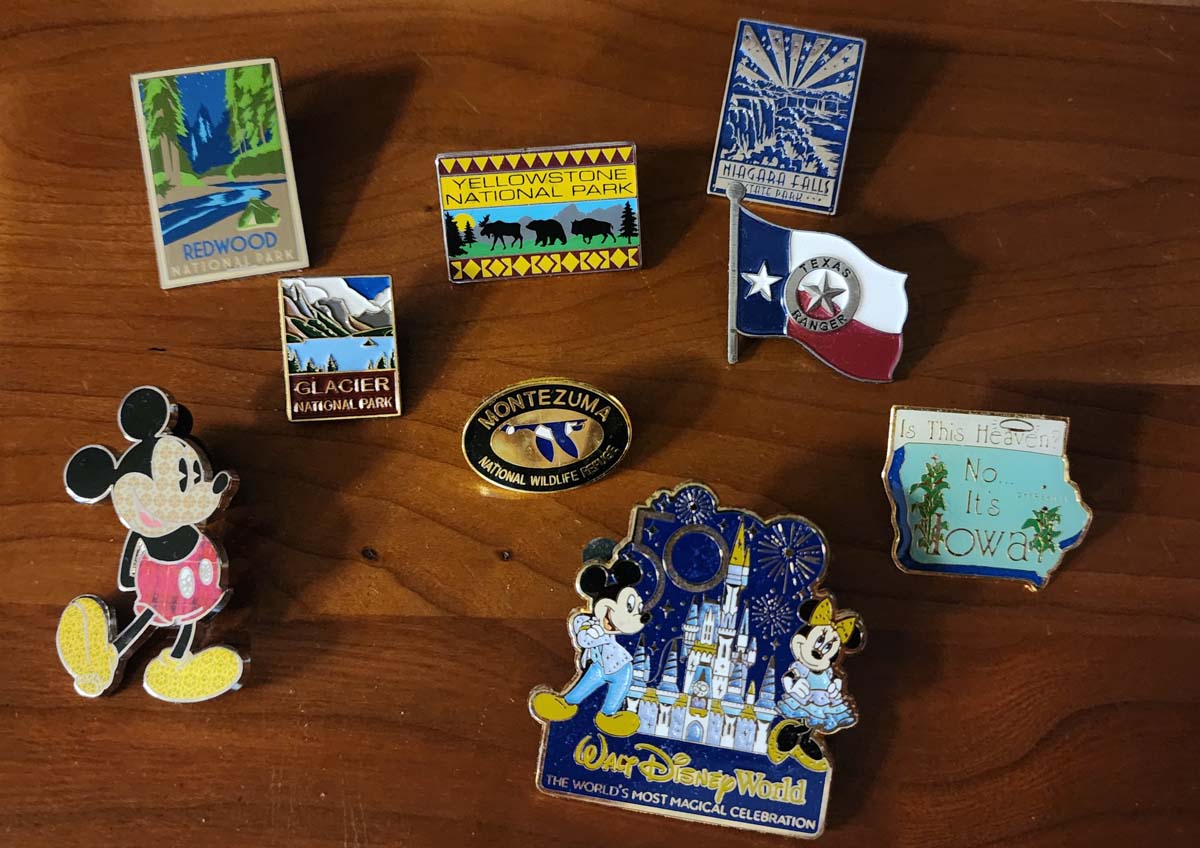
3. Collect Souvenirs with Meaning
Souvenirs are more than just trinkets; they are everyday reminders of fun times and new places. Choose souvenirs that have a special meaning or tell a story about your trip. Since space can be a concern when you are traveling in an RV, we usually look for small items like refrigerator magnets, keychains, flattened pennies, or park tokens. Sometimes, though, I might purchase a handmade craft, a t-shirt, or even jewelry as a memento. Displaying these souvenirs in your home or RV can spark conversations and bring back pleasant memories for you to share.
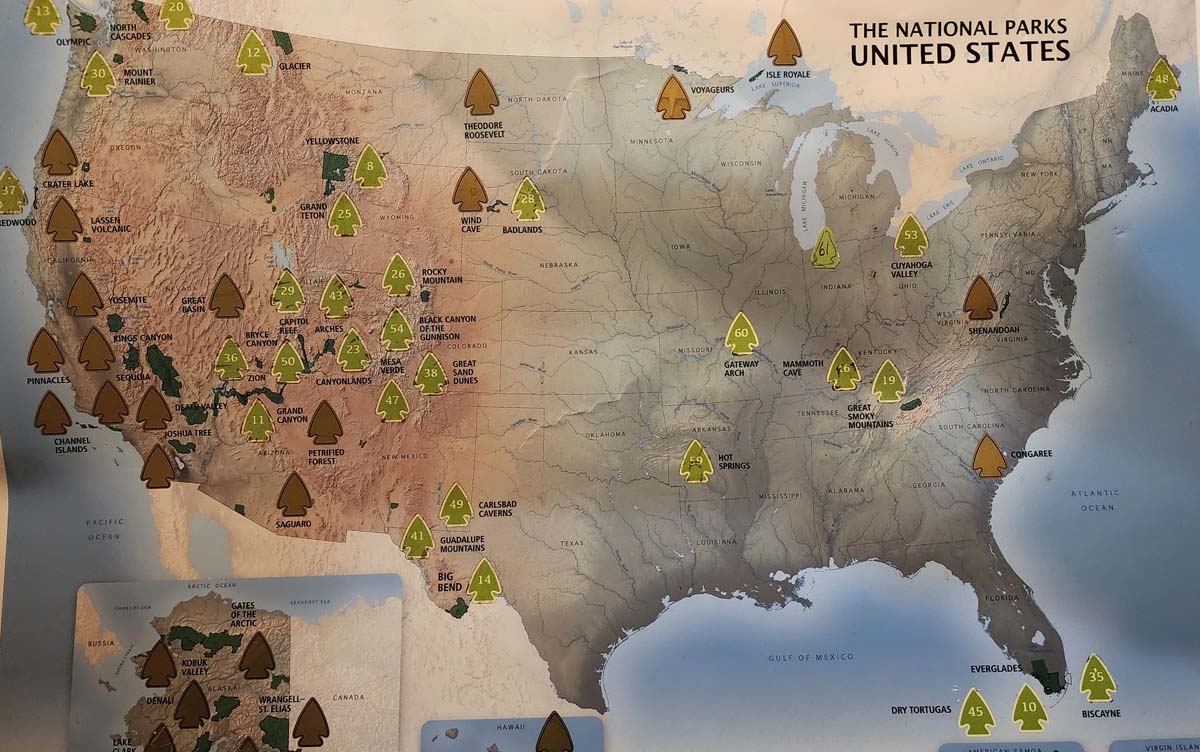
4. Map Your Journeys
Many people like the visual appeal of seeing their travels and routes displayed on a map. You can plot your travel adventures using pins, stickers, or color-coded markers to represent each destination. Another fun option is a scratch off map. We have one for all of the national parks and scratch off a sticker for each place we have visited. If you want to go digital there are sites like Google Maps or MyTravelMap where you can input your travels and then print it out or share with friends.
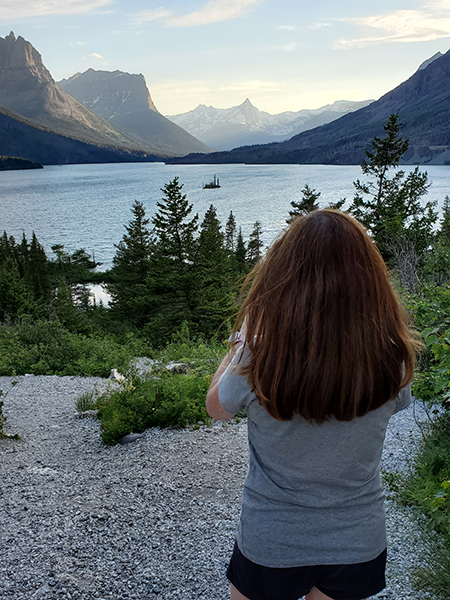
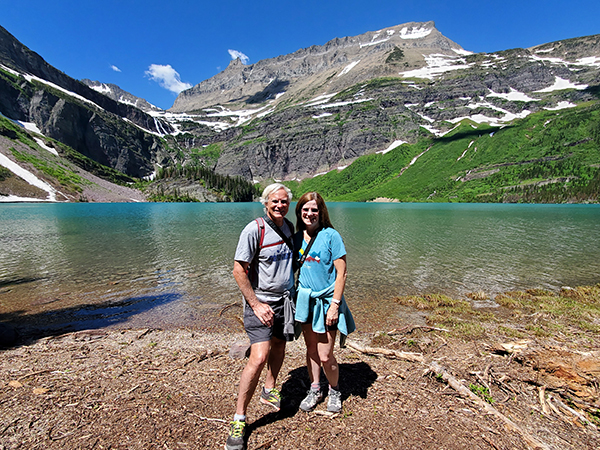
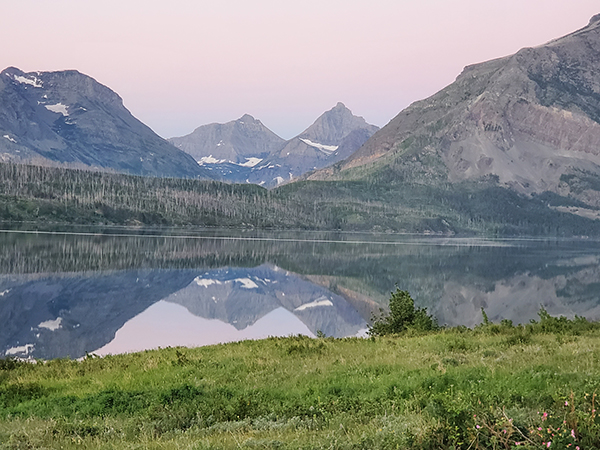
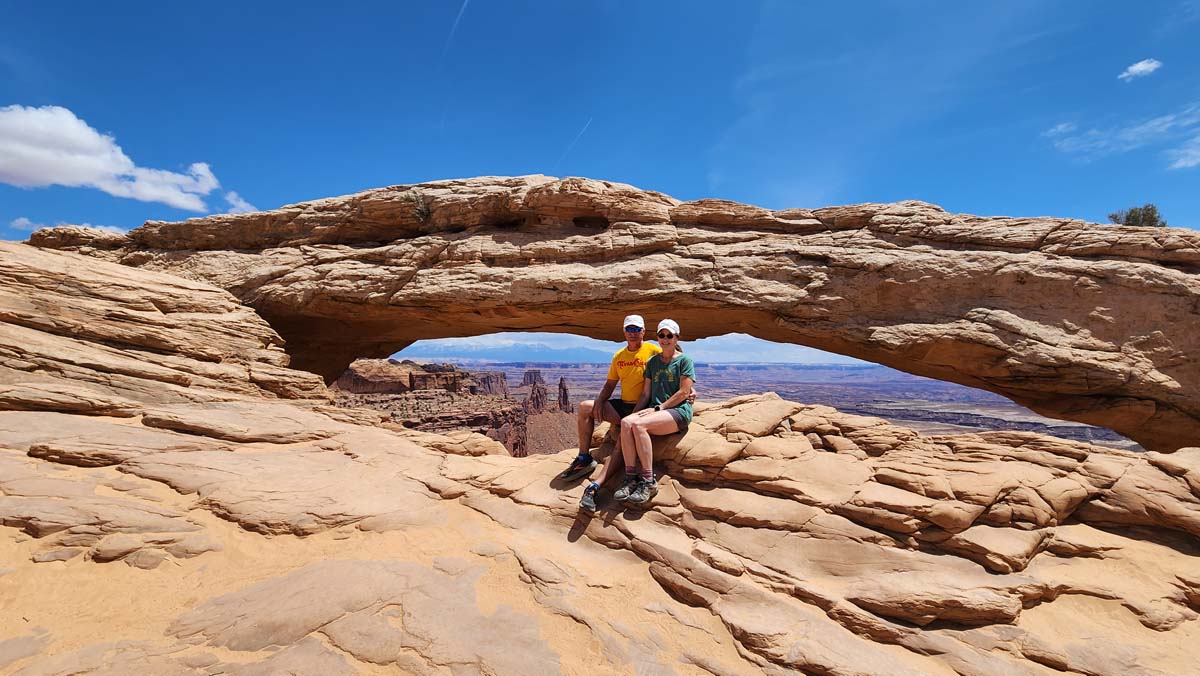
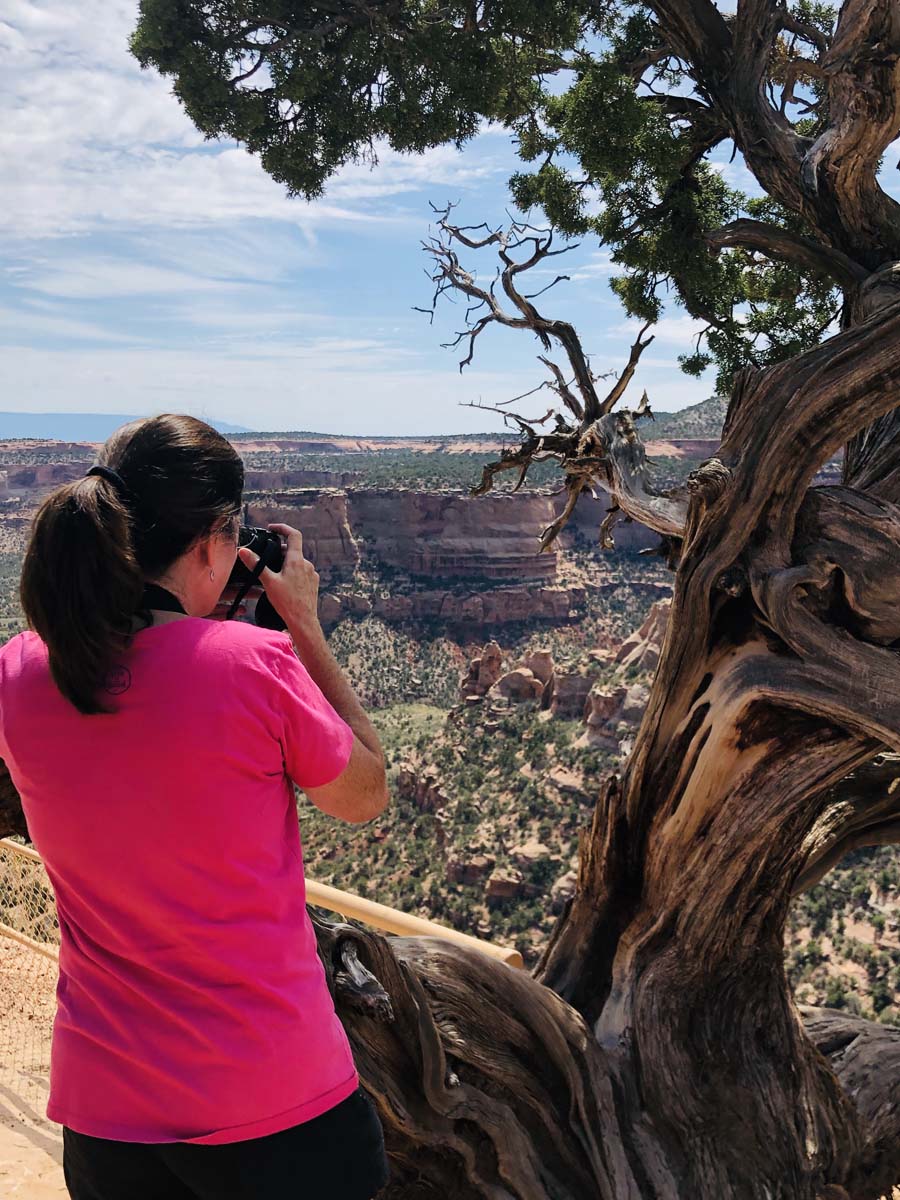
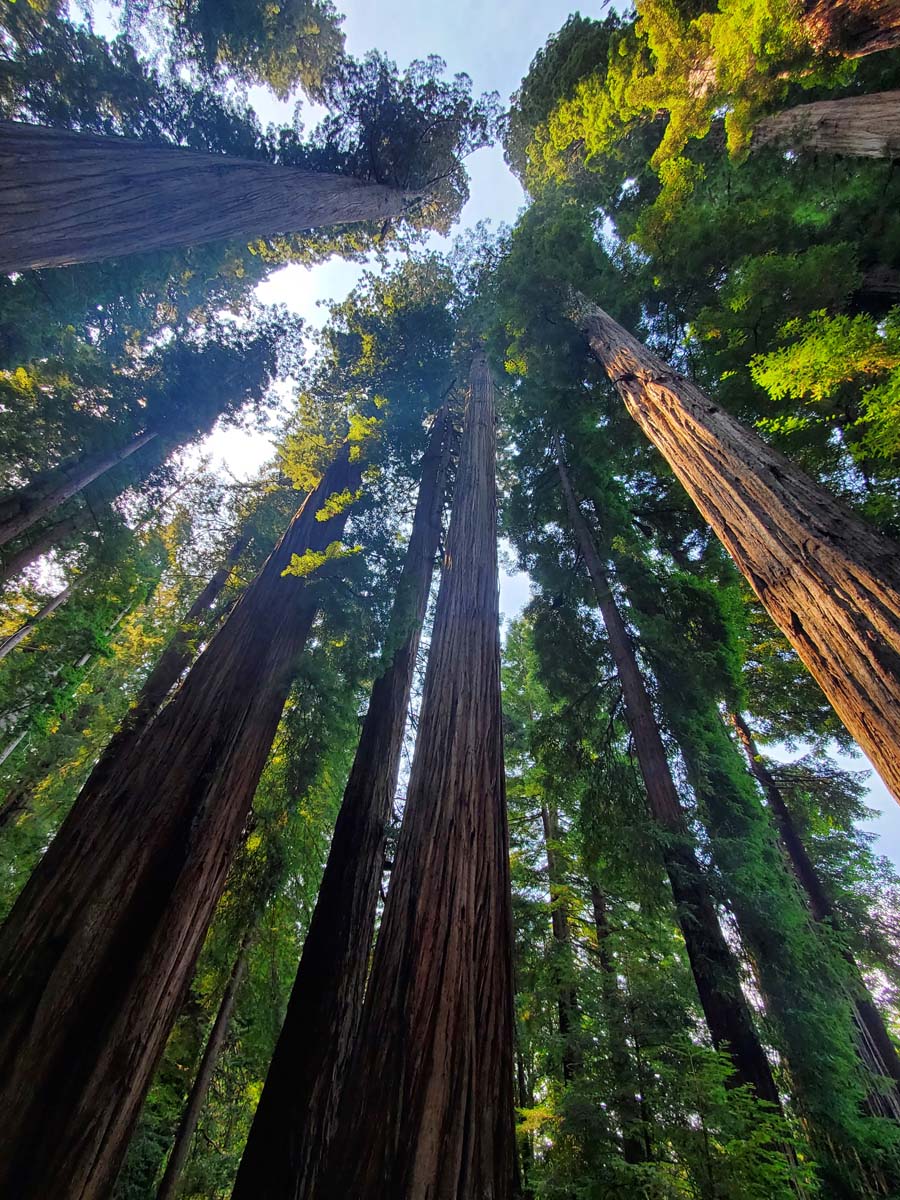
5. Capture the Moments with Photography
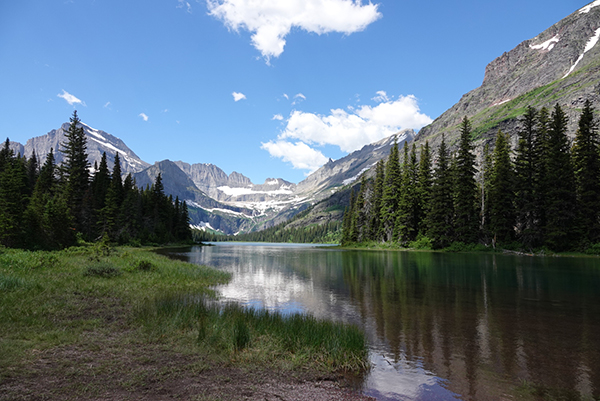
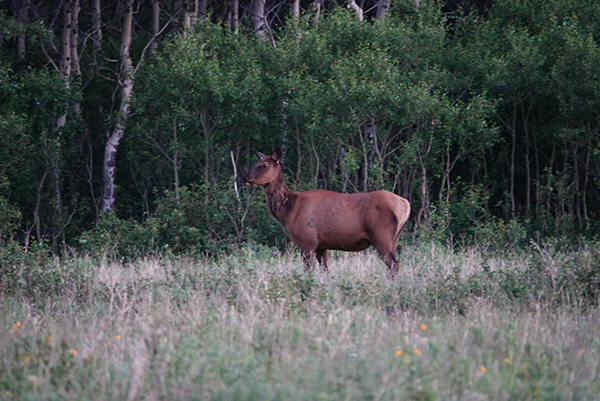
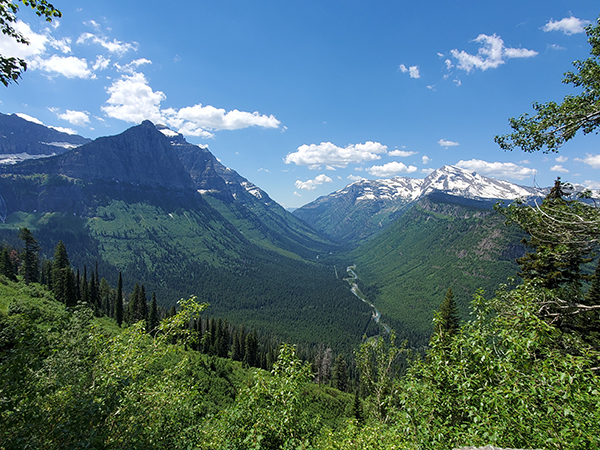
Photographs are perhaps the most immediate and visually stimulating way to preserve travel memories. You can use a good camera or even a smartphone to capture breathtaking landscapes, vibrant street scenes, and candid moments with locals or other travelers you meet. Experiment with different angles and lighting to make your photos unique or try an action shot of fun activities. Interesting new foods, unusual architecture, and famous landmarks are other great subjects for your pictures.
One key thing about photos is that they can pile up quickly. I suggest going through them frequently to pick out your favorites while everything is still fresh in your mind. Once you know which photos you want to keep you can create a digital album on your computer, or you may also want to print them out for a traditional photo album. Mixbook, Shutterfly, and Snapfish are just a few of the online companies that will help you create a high-quality bound photo book with just a few clicks. Better yet, I like to view mine on a Nixplay digital picture frame and even have one set up with my parents, so I can email pictures directly onto their frame too!
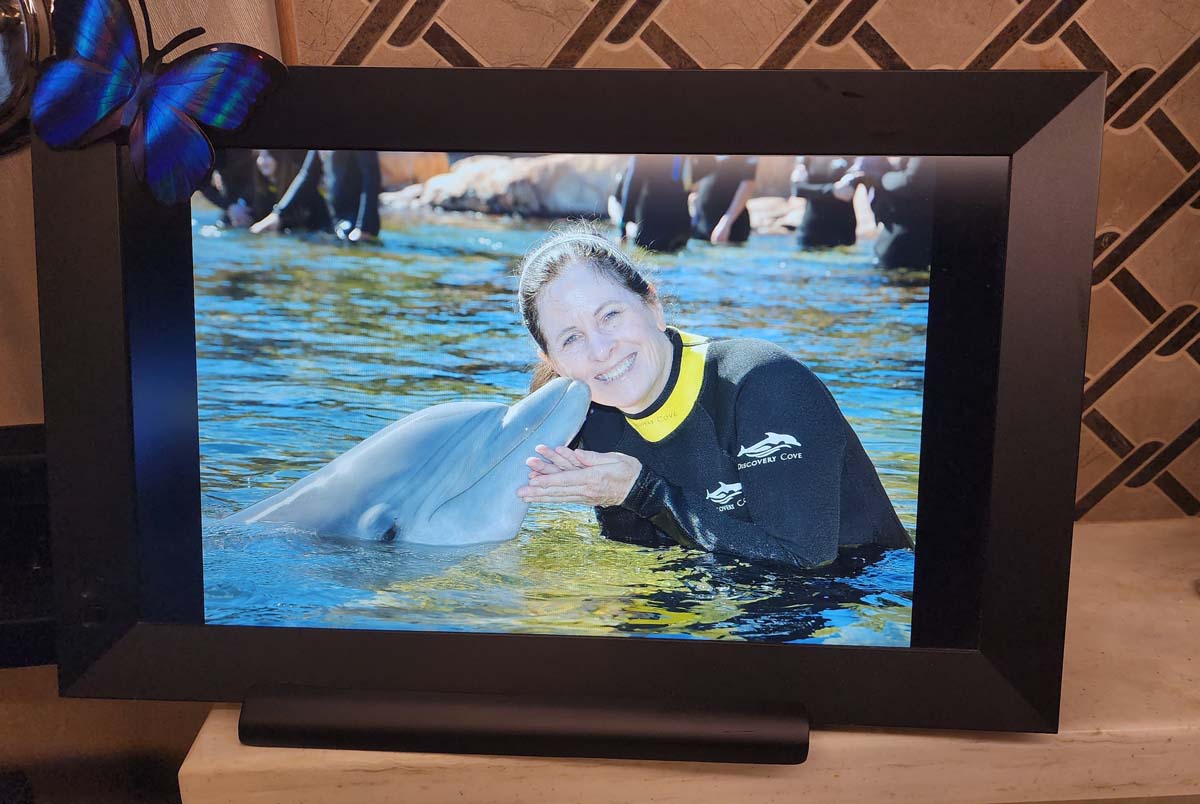
6. Create Dynamic Video Memories
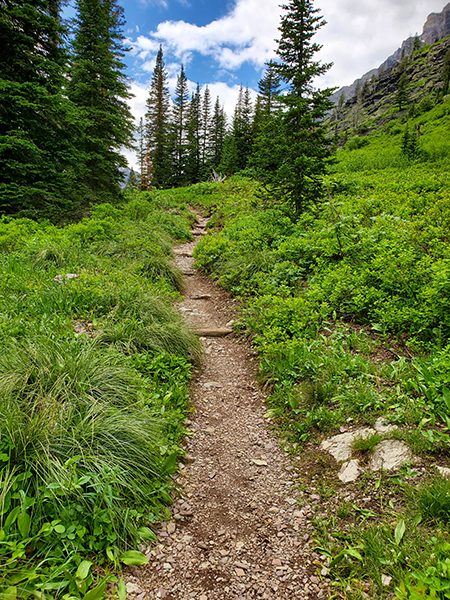
If a single image can speak a thousand words, imagine what a video can convey! Videography captures not only the visual but also the auditory and emotional aspects of your journey. You can use your camera, cellphone, or even a GoPro to document a bustling city scene, your serene hike at sunrise, or an amazing swim with dolphins experience. Many people post their videos on YouTube channels so they can easily share with family and friends. Videos take a great deal more space than photos, though, so make sure you filter and edit them, or your collection will take up a lot of your camera or computer memory.
7. Share Your Travels Online
In today’s digital age, creating a travel blog or website has become an accessible and engaging way to document your adventures. Like a travel journal, a blog is an excellent way to write about your travels and allows you to include more in-depth information and even insert pictures and links. I started my travel blog so that we could share our experiences with our family and friends, but I’ve since expanded to include sharing advice and tips for other RVers as well.
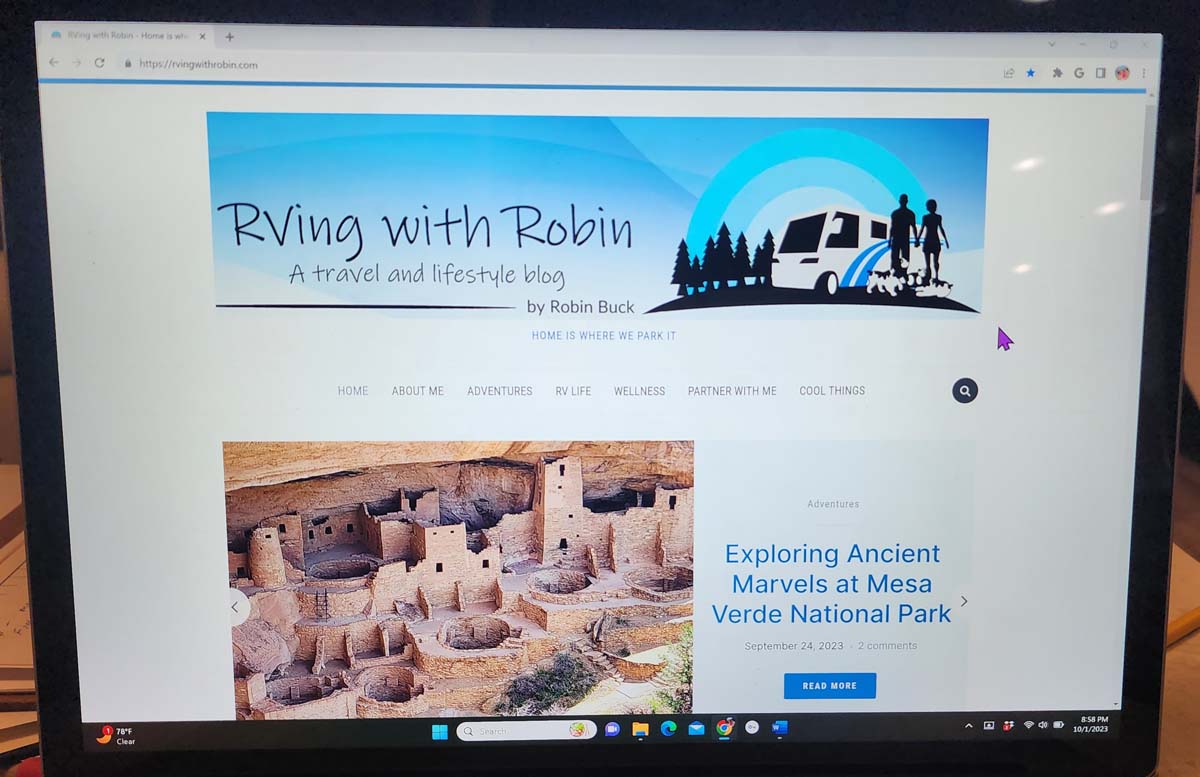
Many online platforms, like WordPress and Blogger, make it easy for beginners to get started. If you are not up for the ongoing upkeep of a blog, you might just focus on sharing via social media sites like Facebook and Instagram. There you can upload pictures or albums to share your trip quickly and easily.
Enjoy Making Memories
Documenting our experiences has become part of the fun as we visit new places in our RV. Travel memories are precious and preserving them ensures that you can relive your adventures for years to come. Whether you prefer the traditional approach of journaling and scrapbooking or the modern methods of blogging and videography, there are countless ways to capture the essence of your travels. By combining these creative techniques, you can create a comprehensive and meaningful record of your journeys that will continue to inspire and enrich your life.

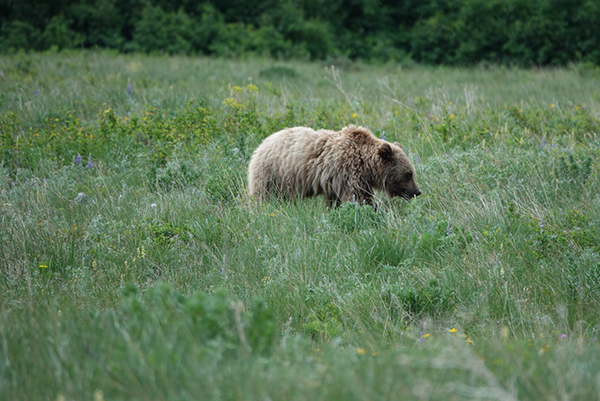
Robin and her husband, Mike, are Air Force veterans and empty nesters who have been traveling full-time in their Entegra Anthem motorhome for 5 years. Always ready to explore, they love nature and wildlife, meeting new friends and discovering America one stop at a time. Robin writes about their travel adventures, RVing tips, and the full-time RV lifestyle on her blog RVing with Robin.