Visiting some of our country’s beautiful national parks is often at the top of many RVers’ bucket lists. After all, it is the perfect way to appreciate nature in a very up-close and personal way. While we have thoroughly enjoyed our time in each national park we’ve been to, some of them really stand out as favorites. One that is at the top of my list is Glacier National Park.
Glacier National Park is located about as far north as you can go in the wilderness of northern Montana. We were so close to Canada that our phones even dinged with a “Welcome to Canada” message! Nicknamed the “Crown of the Continent,” this park’s 1 million acres are home to stunning mountains, frozen glaciers, thundering waterfalls, pristine lakes, glorious meadows, and an abundance of wildlife. This vast diversity offers something for everyone whether you choose to enjoy it by car, from a boat tour, or on foot on one of the many hiking trails.
Going to the Sun Road
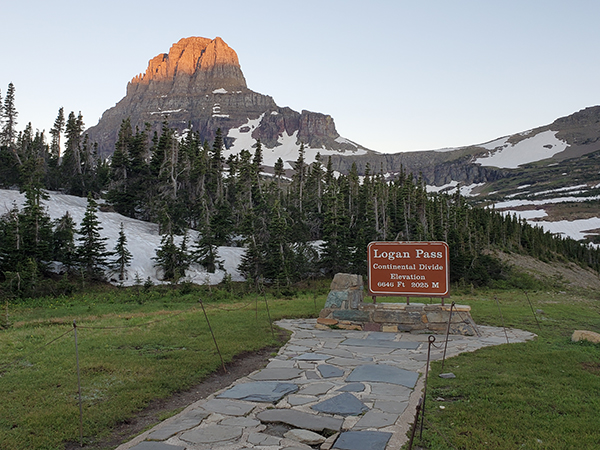
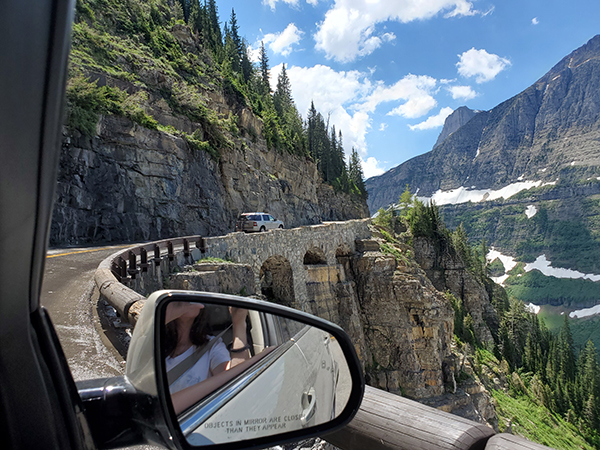
By far the #1 attraction in Glacier National Park is the Going to the Sun Road. This 50-mile-long scenic drive crosses the park from east to west and offers some of the most breathtaking natural views in the country. The narrow road hugs the mountainside as you twist and turn your way up and over the Continental Divide. At the top, Logan’s Pass is the highest point in the park that can be reached by car at 6,646 ft in elevation. There’s a visitor center here and trailheads for two of the park’s most popular hikes: Hidden Lake Nature Trail and the more strenuous Highline Trail.
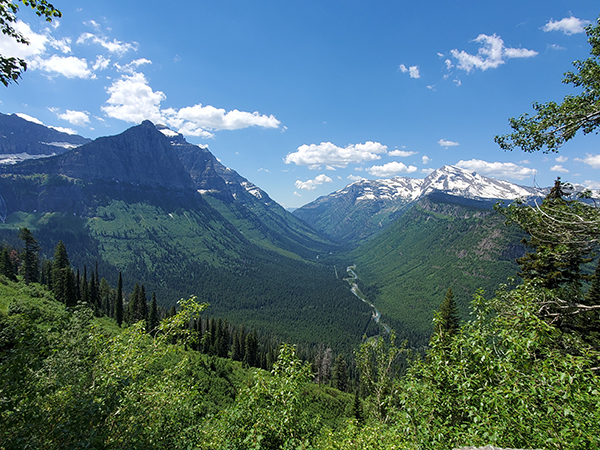
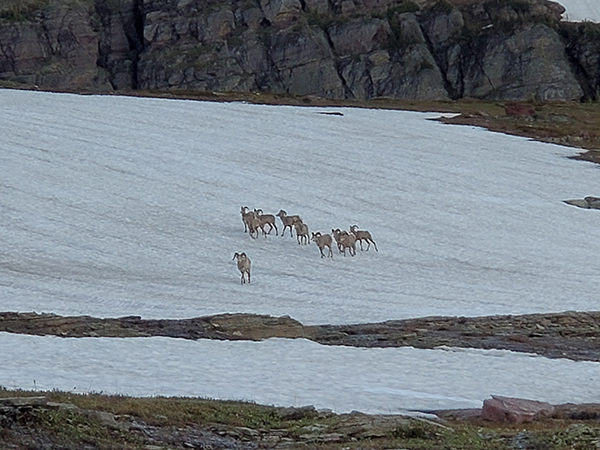
Driving the length of this national historic landmark can take several hours, depending on traffic and how many times you stop. There are numerous turnouts and parking areas where you can take a break to stretch your legs, take photos, and admire the stunning views. I especially recommend stops at the Jackson Glacier Overlook, Triple Arches, and the Weeping Wall. If you do nothing else in the park, this road will give you a sense of Glacier’s rugged terrain and towering mountain peaks. As you enjoy the view of alpine meadows and wildflower fields, be on the lookout for grizzly bears, mountain goats, deer, and bighorn sheep to name just a few.
St. Mary Entrance
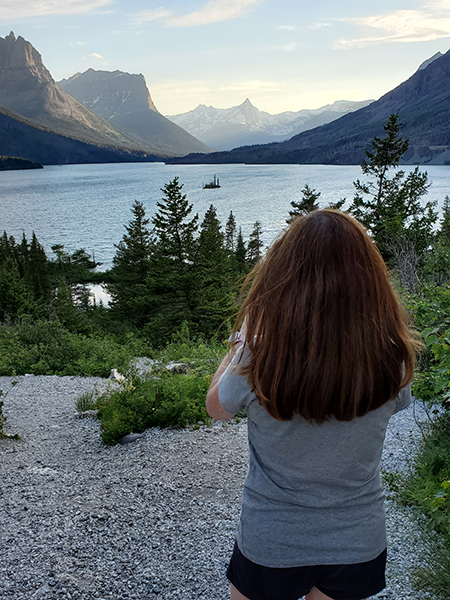
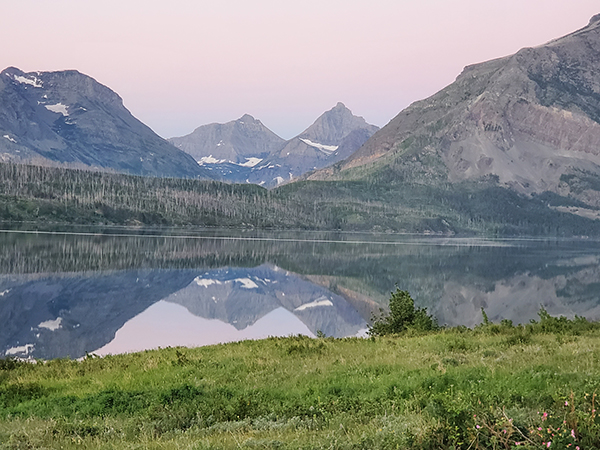
If you start your journey on the eastern side of Glacier National Park, you will come in through the Saint Mary entrance. There is a nice visitor center here where you can speak to a ranger, get trail information, buy souvenirs, or get your park passport book stamped. As you begin up the Going to the Sun Road, one of the first things you will come to is Saint Mary Lake. It is the second largest of the park’s over 700 lakes!
You can enjoy lots of nature opportunities in this area without even going very far into the park. We loved the different perspective we got as we rode on a boat tour and learned more about Saint Mary Lake. The tour includes a stop at Sunrift Gorge where a short walk leads to the rushing waters of Baring Falls. There are also several other hikes to waterfalls in this area. The Sun Point nature trail leads to an overlook with spectacular views of Saint Mary Lake and the mountains looming above it. This spot is especially magnificent at sunset! You can also see the tiny Wild Goose Island popular from the opening scenes of The Shining movie.
West Glacier Entrance
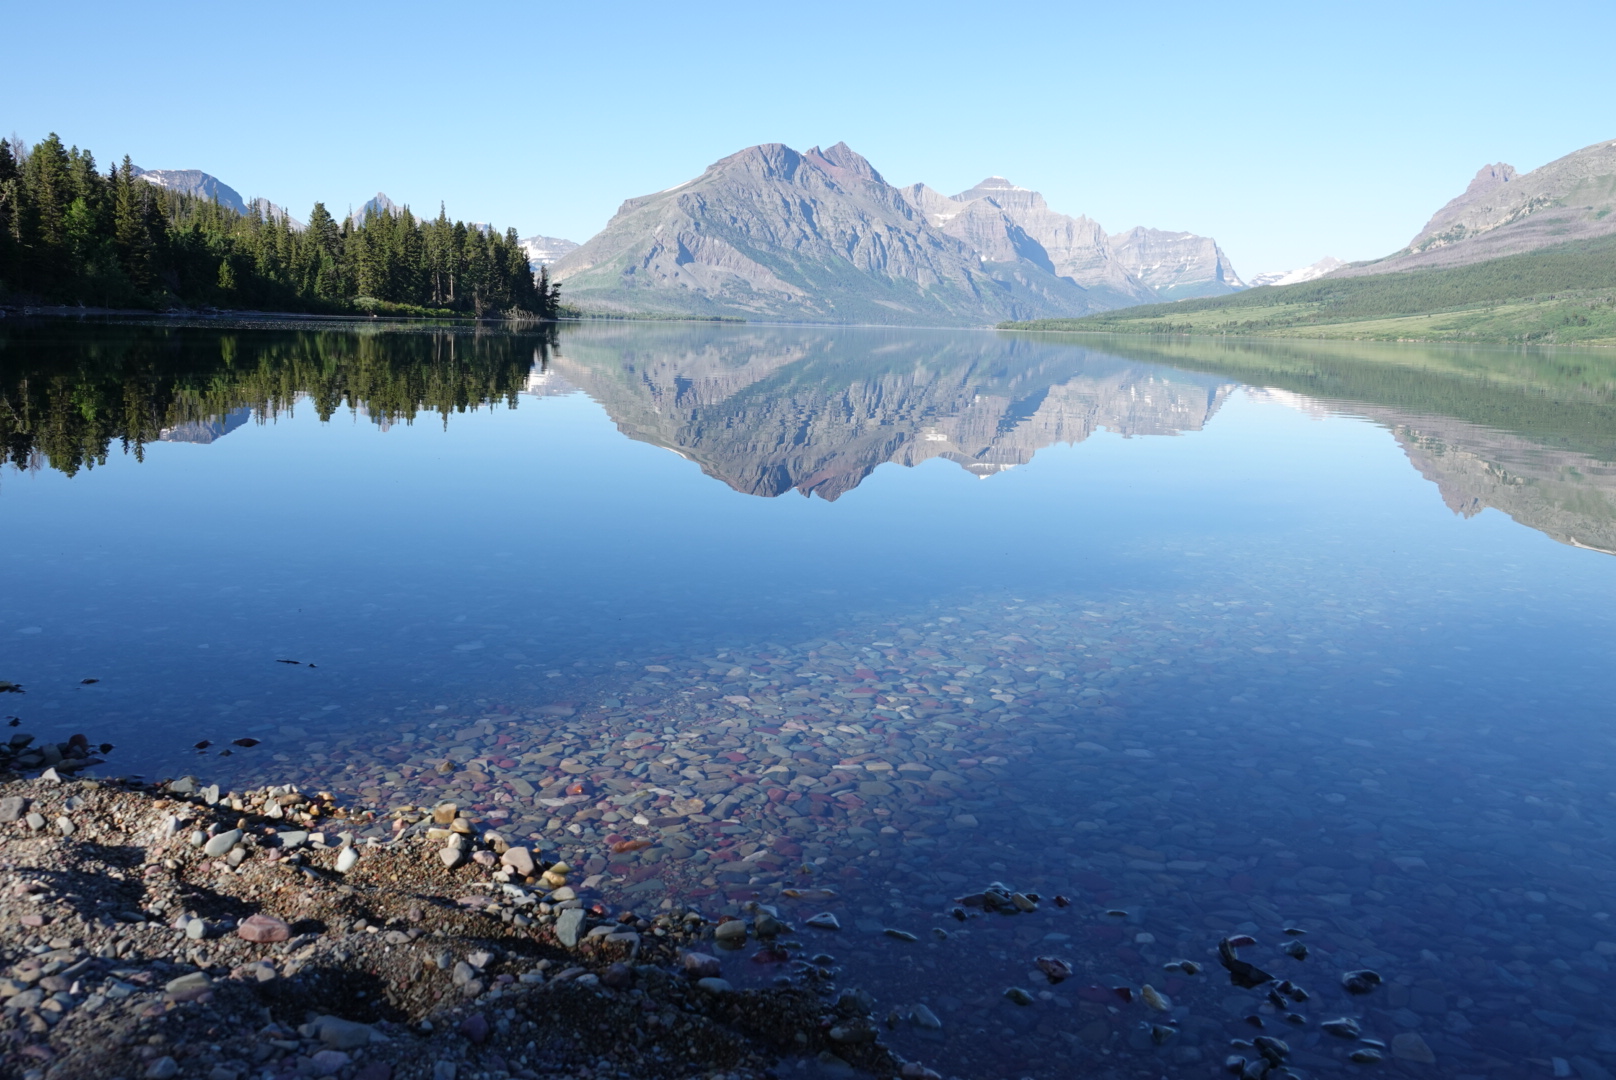
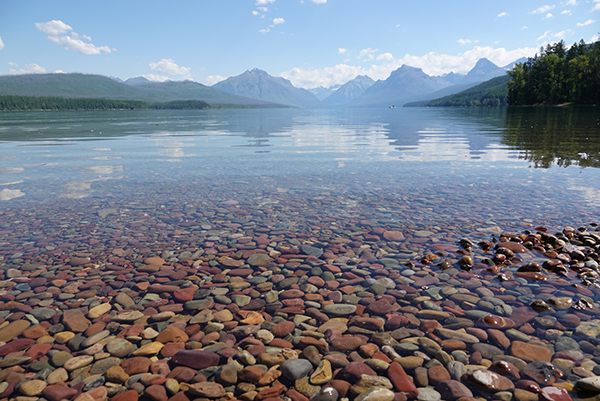
If you enter the park from the western side, you can stop in the Apgar Visitor Center or visit the nearby shops and watersports rentals. Lake McDonald is the largest lake in Glacier National Park and offers many water recreation opportunities, as well as wonderful photo ops of its popular colored pebbles. At the northern end of the lake, you can look over McDonald Falls where brilliant aquamarine water rushes towards the lake.
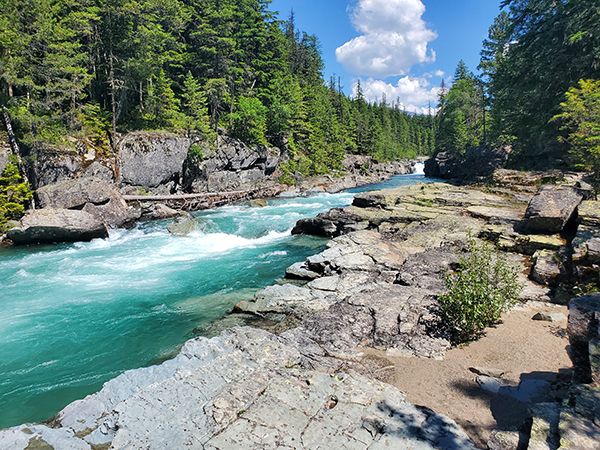
Other popular sights on the western end of the park include Avalanche Creek and the Trail of the Cedars Nature Trail. This wheelchair accessible trail winds its way into the forest of towering old-growth cedar and hemlock trees. Some of these ancient trees are estimated to be 500 years old! As you walk through the lush forest with its tall trees, ferns, and mosses make sure to stop for a photo at the footbridge over Avalanche Creek. The power of the water rushing through the gorge is stunning.
Many Glacier Entrance
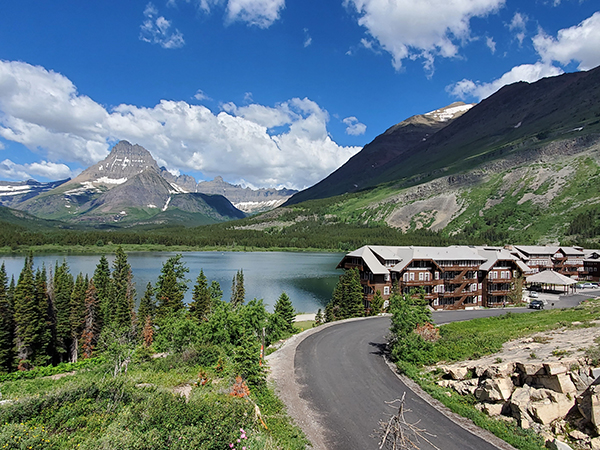
If you want to explore another fascinating and popular part of Glacier National Park, the Many Glacier area is full of jaw-dropping landscapes as well as lots of trails and wildlife. The entrance is about 17 miles north of the St Mary entrance on the eastern side of the park. I suggest stopping for lunch at the historic Many Glacier Hotel or taking a sightseeing boat ride on Swiftcurrent and Josephine Lakes.
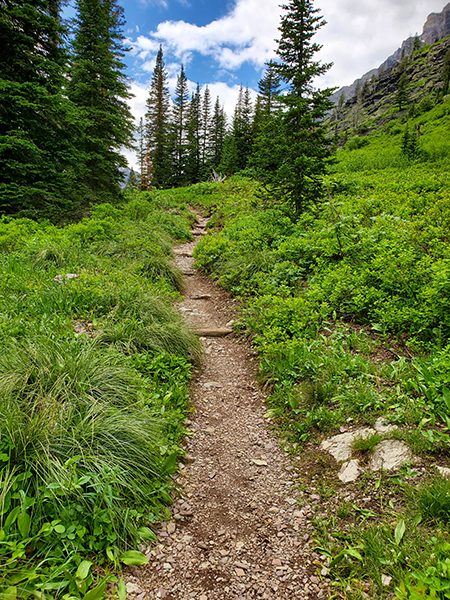
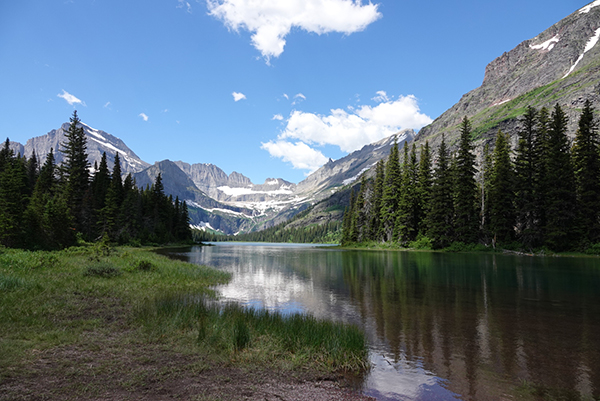
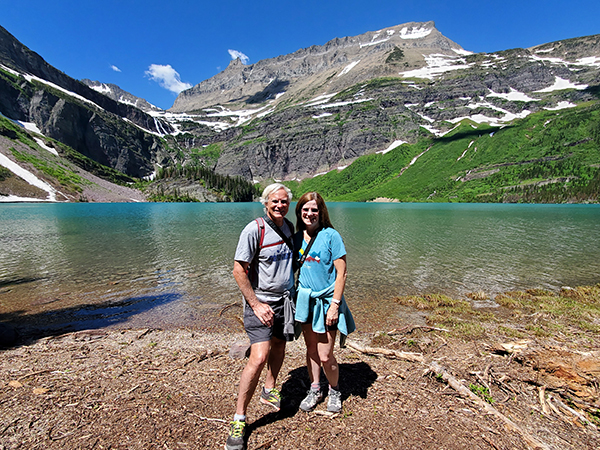
If you want to hit the trails, there are lots of hikes to choose from with something for all levels. We hiked to Grinnell Lake which amazed us with its turquoise waters and numerous waterfalls tumbling down the steep cliffs of the glacier. Those up for a more strenuous challenge can hike all the way up to Grinnell Glacier or try the Swiftcurrent Pass Trail. It’s a very “cool” experience to stand on a massive glacier!
Know Before You Go
Glacier National Park is one of the parks where timed entry tickets are required during the busy summer months. In addition to the park entry fee, you must go online at Recreation.gov and reserve a timed entry ticket ahead of your visit. If you are not able to get a timed ticket, you can always enter the park before or after the designated ticket hours. We found that going into the park before the opening hours allowed us to deal with less traffic and increased our chances of spotting wildlife or getting a peaceful lake picture with the mountain reflection.
It’s important to note that there are size restrictions on Going to the Sun Road, so it’s best to leave the RV at the campground for this adventure. There are campgrounds in the towns just outside both the eastern and western sides of the park that can accommodate big rigs. If you don’t want to do the driving, you can opt to take the park shuttle bus or sign up for a guided Red Bus Tour.
Weather is also a concern when visiting this northern park. The Going to the Sun Road typically opens in late June or early July each year after the snow is plowed. We encountered snow along many areas even after the road was open in late June during our visit, so if you want to see more wildflowers and less snow then visit later in the summertime.
Beauty Abounds in this Park
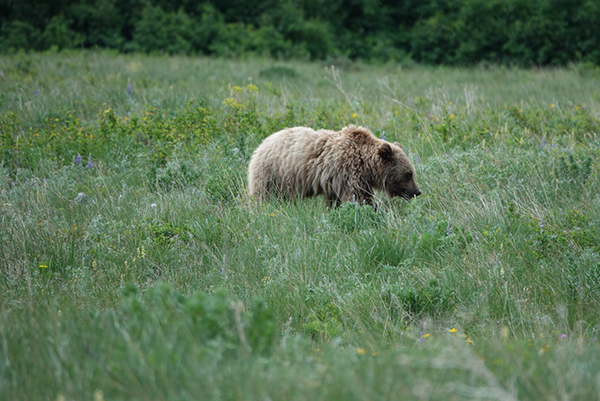
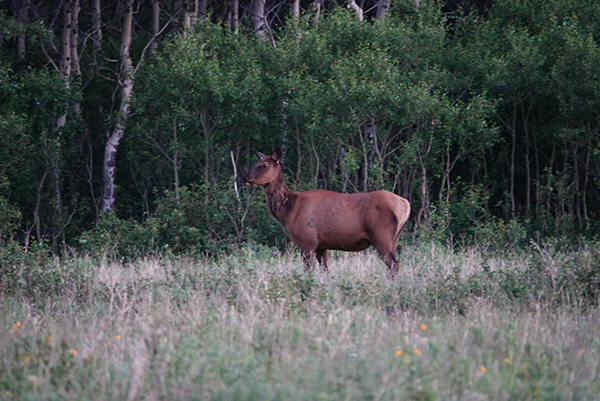
As its name implies, you will see massive glaciers in this park along with the hundreds of lakes and valleys that they helped to form over millions of years. Spectacular mountain peaks and cascading waterfalls are around every bend. We marveled at the plant and animal species that thrive here and were excited to see more wildlife here than any other park we visited including bear, elk, mountain goats, bighorn sheep, and marmots. We truly couldn’t believe how amazing the views were no matter where we looked.
Glacier National Park is an explorer’s paradise, and there are so many areas not even mentioned here. You could spend a week or two in the park and not see it all. Whether you choose the exhilarating Going to the Sun Road, water fun on one of the many lakes, or an incredible hike to see a glacier, you will not be disappointed. An RV trip to Glacier National Park is one you will remember forever.